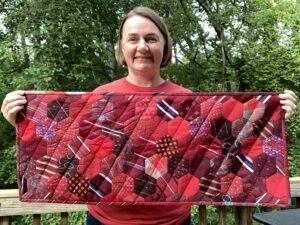
Did you know that crazy quilts were often made after someone passed away? It was a way to remember that person, by making a quilt from bits of their clothing. This type of quilt became more popular after the Centennial Exposition of 1876, where Japanese art was featured. The Japanese aesthetic of asymmetry was new to American quilters, and so crazy quilts became very popular.
I first became interested in crazy quilting after my friend Connie Bowers made me a pillow from recycled men’s ties. She got most of her ties at estate sales, where she could pick up a whole box for a few dollars. That sounded like trashmagination magic!
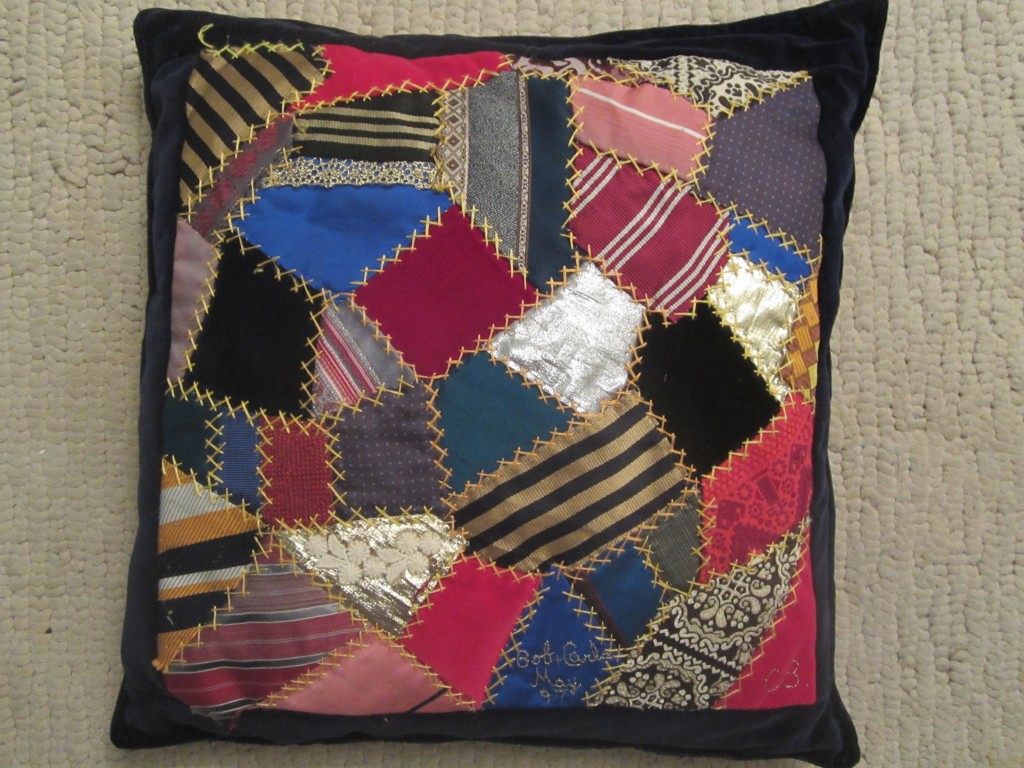
A few years later, I was preparing class ideas for the Family Nature Summit, a program where I have taught handicrafts and green lifestyles programming since 2002. I have so many trashmagination projects that I want to do, and the Summit is usually a good incentive to get it done so I can teach others!
Finding Inexpensive Men’s Ties
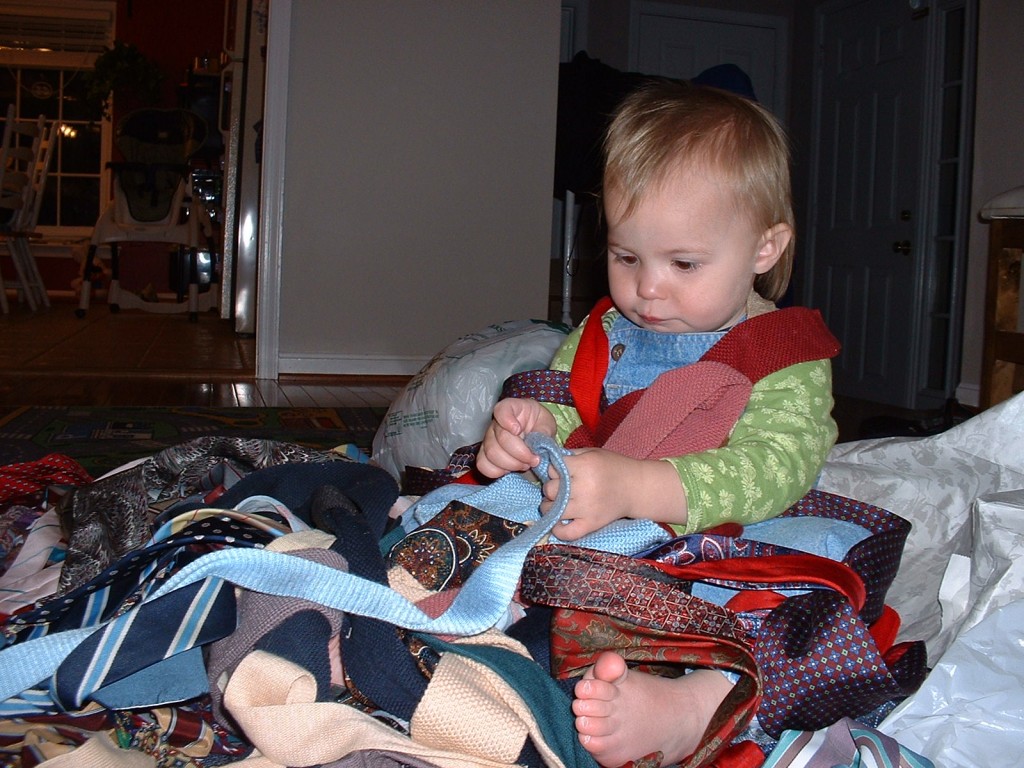
The first thing I did was started looking for men’s ties. I thought they would be inexpensive at secondhand stores, but I found they were at least 50 cents each, and I needed at least 100, so I decided that was not going to work. I loved Connie’s idea of estate sales, but I had a two-year-old daughter at the time, and while the idea of going to an estate sale sounded lovely, I didn’t have the time.
I decided to put out a call for men’s ties on Freecycle. This free service allows you to give away or request items for free in your community. I had given away a lot of things on Freecycle, but rarely requested items. When I put out a call for ties, I said I would come if the person had a minimum of five ties to donate. I did not want to drive all over for one tie at a time. I had a great response. People gave me large bags filled with ties. Many men said they would love to buy a crazy quilt made from men’s ties. With only a few pick-ups, I had plenty for my class.
Preparing the Ties for Sewing
The tool I needed was my seam ripper. I gently pulled out the stitches in the ties. There was typically one piece of thread and this took little time. A few ties contained a surprise – they had been handmade by a family member who put a tag inside to remind their family members of their hard work!
Inside the ties was a piece of lining fabric, which varied in quality, but mostly felt like a thick piece of white felt. I did not have a plan for that piece, so I put it aside.
Washing the Ties
Next I needed to wash the ties. When I was in college, I had a summer job at a clothing recycling center called “Recycling Together” where we sorted donated clothing into forty bins, each a different type of clothing that a company wanted to buy. The men’s clothing was always in the worst shape. Many ties are never been washed. Likely there was sweat and spilled food on those ties. I didn’t want to throw them in the washing machine because many were silk so I started washing them by hand.
The water that came out of those ties was pretty nasty. I set up an elaborate clothesline system in my laundry room and soon the ties were clean and dry.
Adding Fusible Interfacing to the Ties
Some ties were silk, some were polyester. I did not use ties made of suede or leather for this project. The silk ties in particular were challenging because they would wiggle and wrinkle. So I decided to put some kind of liner on each tie that would give it more structural integrity. I had learned at my quilting guild that there was a type of liner that you could iron on to t-shirt fabric so it would behave more like cotton, called fusible interfacing. So I bought that fabric and tested it on many ties. It made them much easier to deal with.
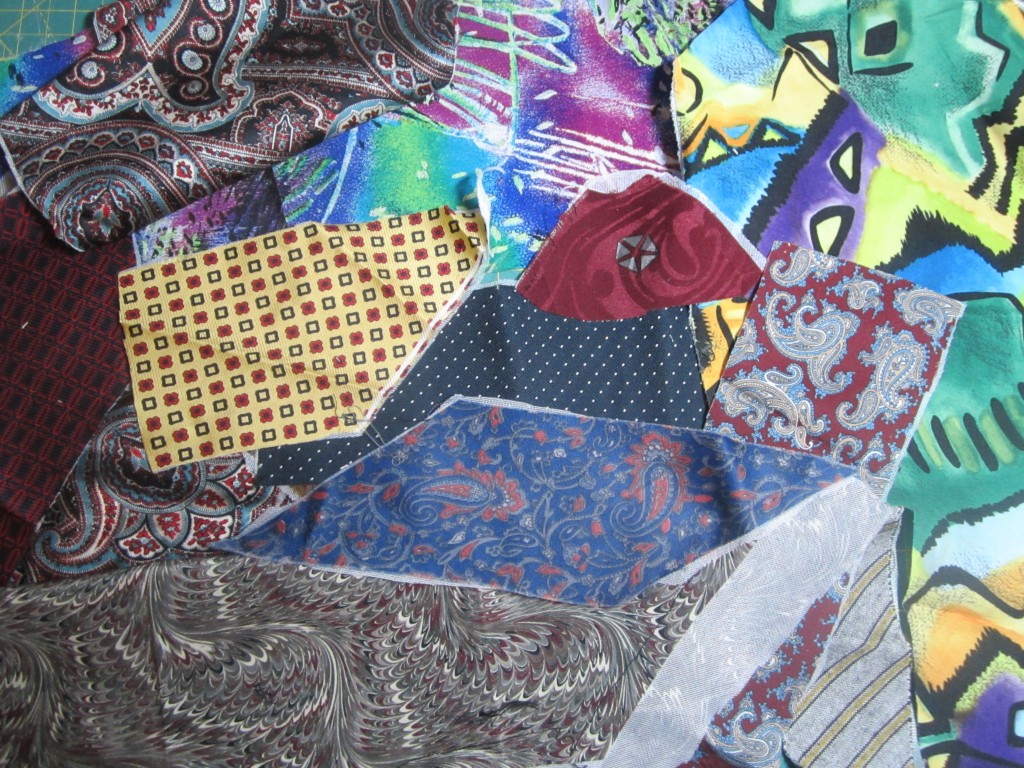
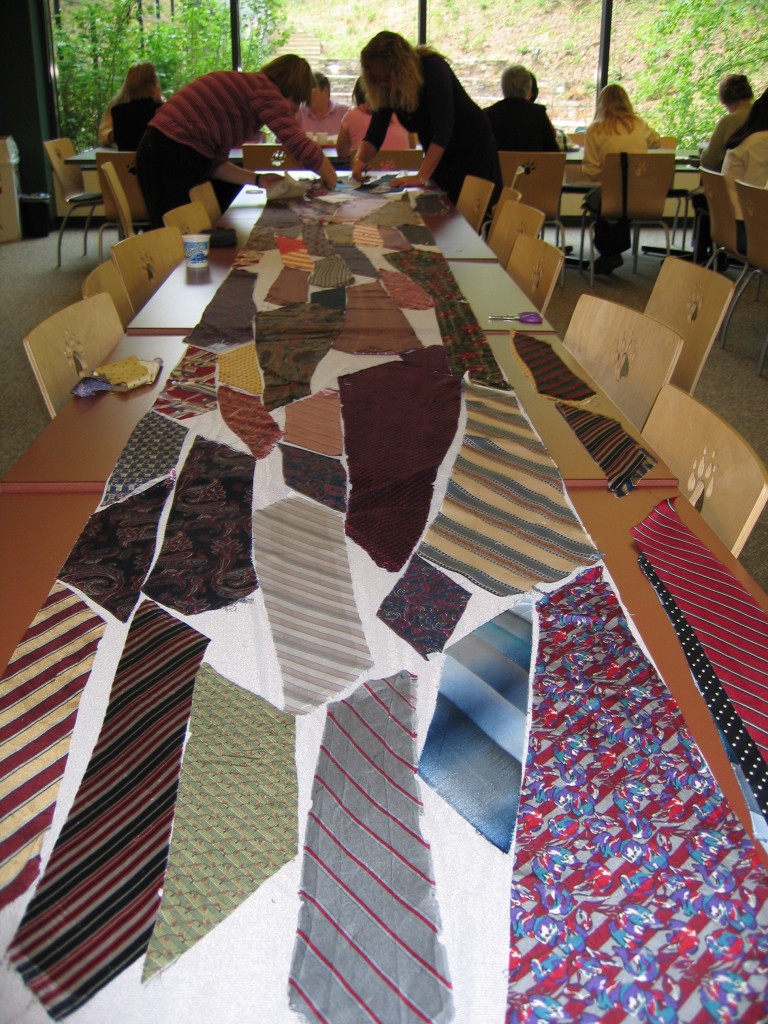
Now I was faced with the task of lining hundreds of ties with fusible interfacing. I needed help. My husband had already helped a lot with all the seam ripping, and my daughter was a toddler. I work at an office that has perhaps 150 people in the building. They are a helpful and curious group of people who are pretty much open to trying anything. So I brought in my iron and ironing board, a big container of safety pins, lots of ties and lining fabric and scissors. In our lunch room, I laid out the liner fabric on large tables. Then I asked anyone who had time during their lunch to lay out the ties in a pattern that used the most liner fabric. It was like a big puzzle because the ties varied in size and width. Once we had a section that was well covered, they took safety pins and pinned the ties in place. Then they cut out the ties, and I would iron the liner on.
Organizing activities like this at your workplace might seem like an odd thing to do, but I have done it many times and it is a wonderful way to connect with others. People are multi-faceted, and the job they fulfill may not be their greatest talent or passion. For example, people don’t get to work with their hands nearly as much as they might like. I have made many friends over the years at work through trashmagination projects – with people who I might not work with on work projects. And then sometimes we do have a work project a few years later, and we already have that relationship and positive feeling established. After a few lunch hours, I had plenty of ties for my crazy quilting with men’s ties class!
Choosing Stitches
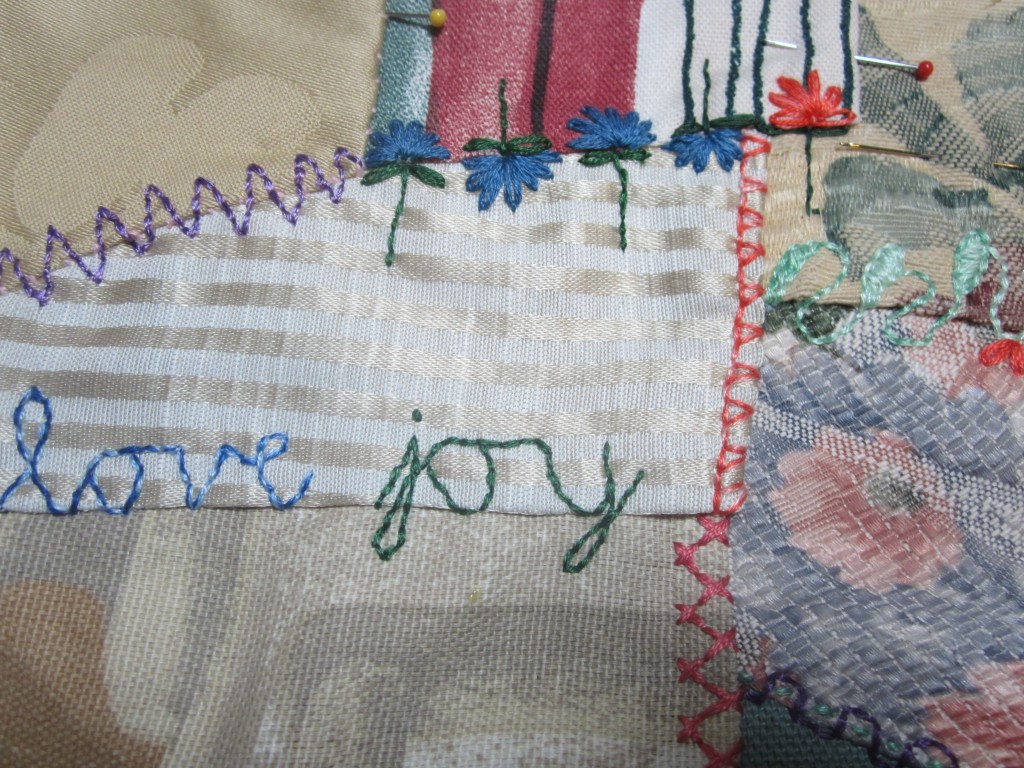
My next step was to research stitches for the crazy quilts. There are lots of great books on this which I borrowed from the library, so I won’t spend time in this blog. Some students want a hand-out with exact stitches to follow, something deemed correct. However, I want to emphasize that my favorite stitches are ones that I invent as I go, depending on my mood. For example, a running stitch in cursive writing across a seam is beautiful.
Have you made crazy quilts from men’s ties? If so, what tips would you add?


