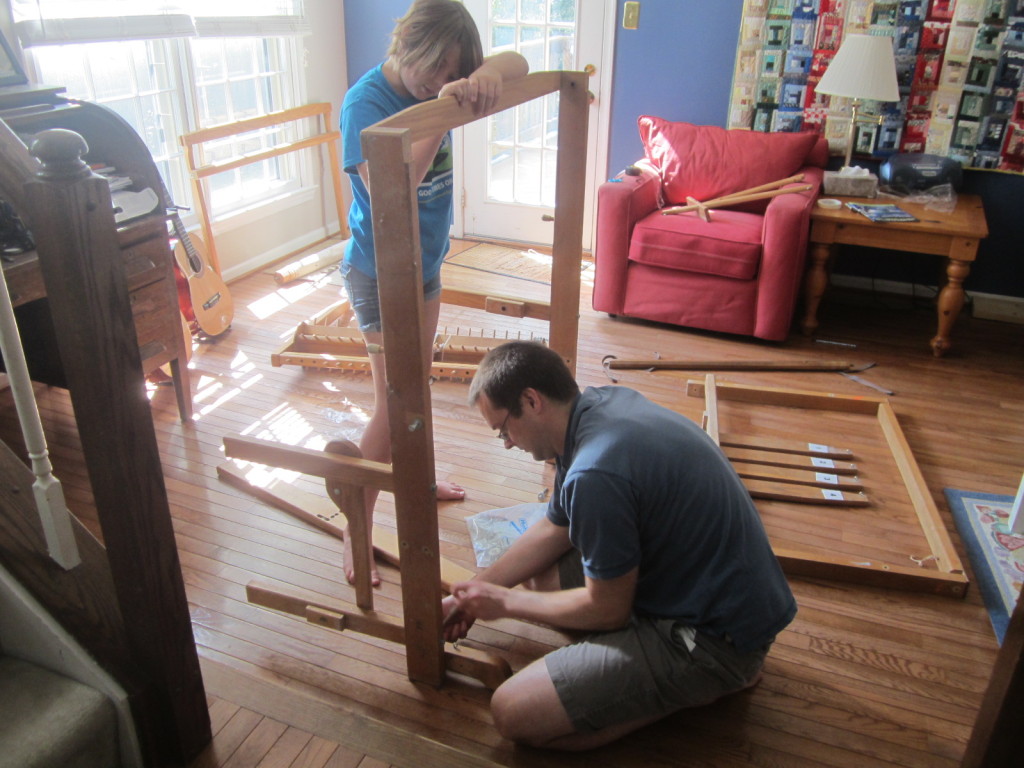
I looked at hundreds of pictures of looms on the web, but none looked exactly like the loom pieces that my instructor Marilyn had given me. I printed out instructions for a few looms that were somewhat similar.
It would have been hopeless, except that Marilyn had written matching numbers on the pieces that attached to one another. So we just started connecting those pieces with our best guesses of screw length.
Pretty quickly, we had three big chunks, which I recognized as the center beam, the “breast beam” which is the front where you sit when weaving, and the warp beam that hangs out in the back.
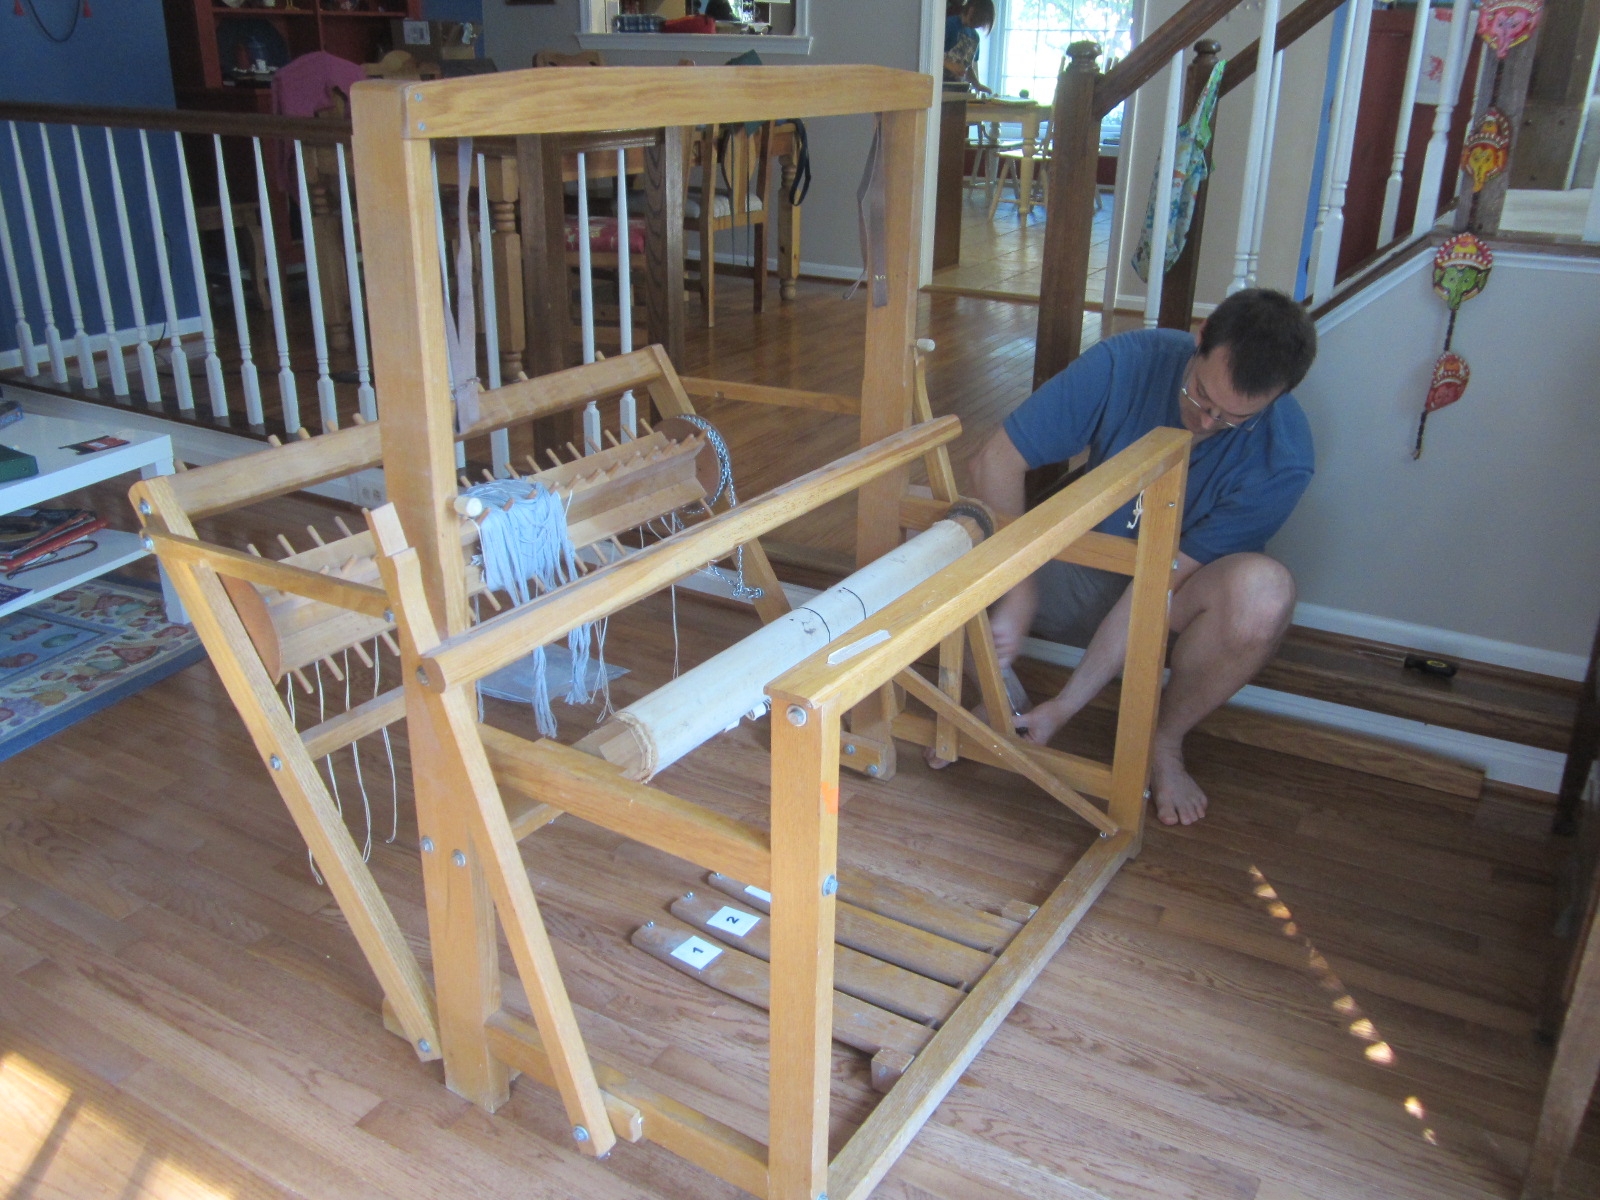
We managed to put it all together except the hanging pieces or shafts where you thread the yarn. I have since figured that out. I’m still not sure how to attach the pedals to the shafts, but I figure this will become clear when I learn how to thread the loom on October 11. So until then, our loom sits in the living room waiting for action.
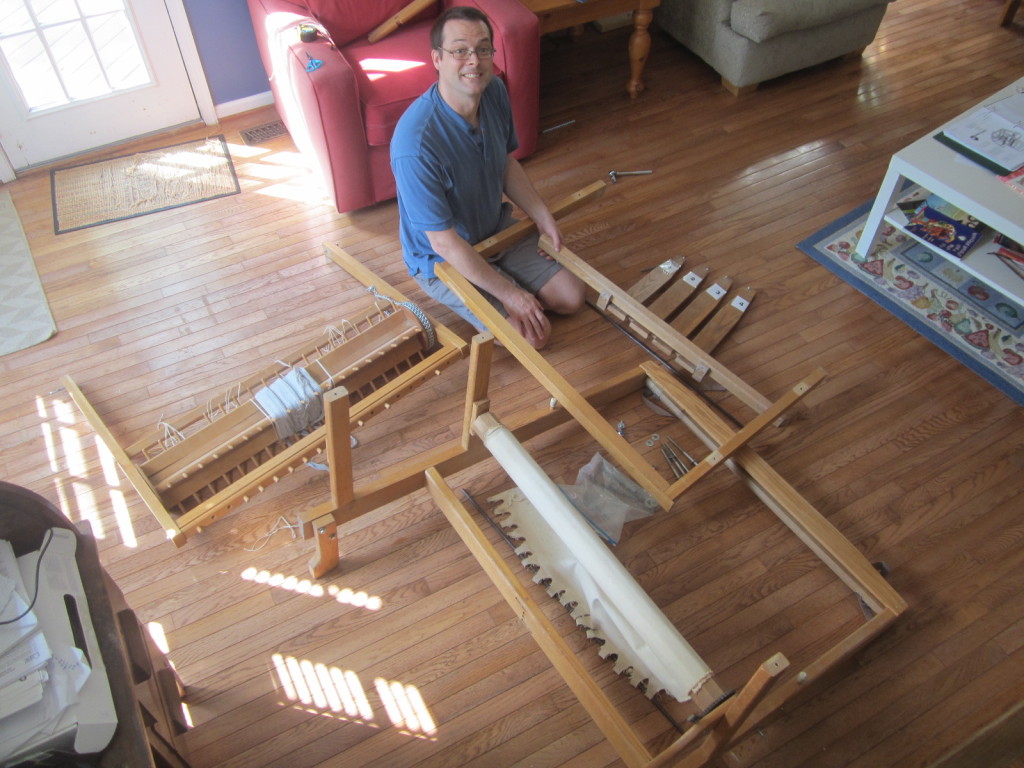
I sent a photo of the loom to Leclerc looms in the hopes they might recognize it as an old model. But they said it was not a Leclerc loom. So our best guess now is that this is a homemade loom, not made by any existing loom manufacturers. That makes sense because there is no branding on it anywhere, no serial numbers or anything that a typical manufacturer would put on it.
My one-of-a-kind loom! Wow!