If you have calculated the length of your warp correctly, then you will see it slowly unwind and appear from inside those rolls of brown paper. And then you know this warp is almost done and it is almost time to remove the project from the loom.
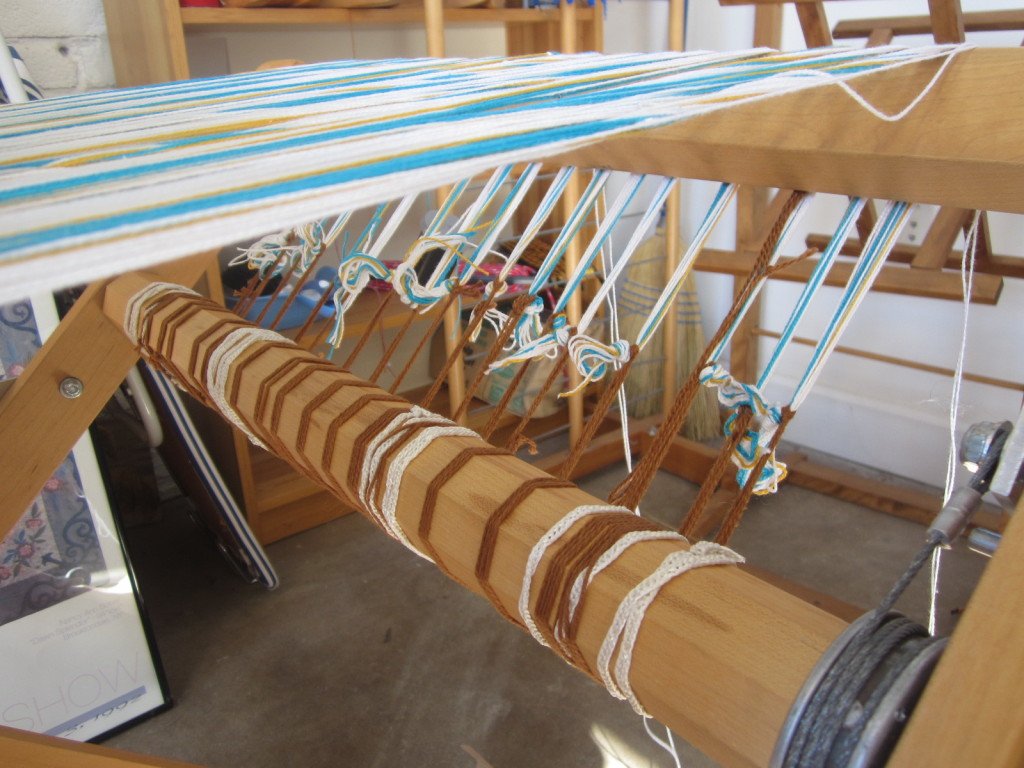
I was both happy and sad to see the end of the warp. It’s great to finish projects, but I had really enjoyed coming to weave at the Workhouse, and watching how the sunshine slants differently at each time of day.
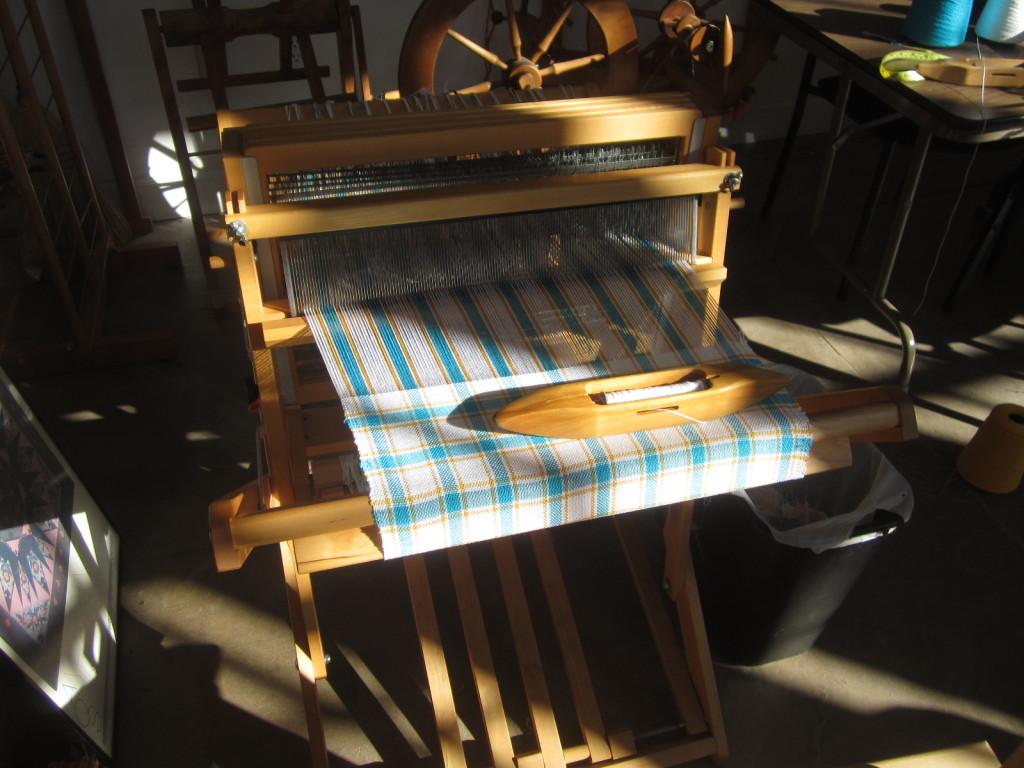
Removing the Project from the Loom
To release the project, you snip off the knots at the end. You have to snip them off or the threads won’t come through the heddles.
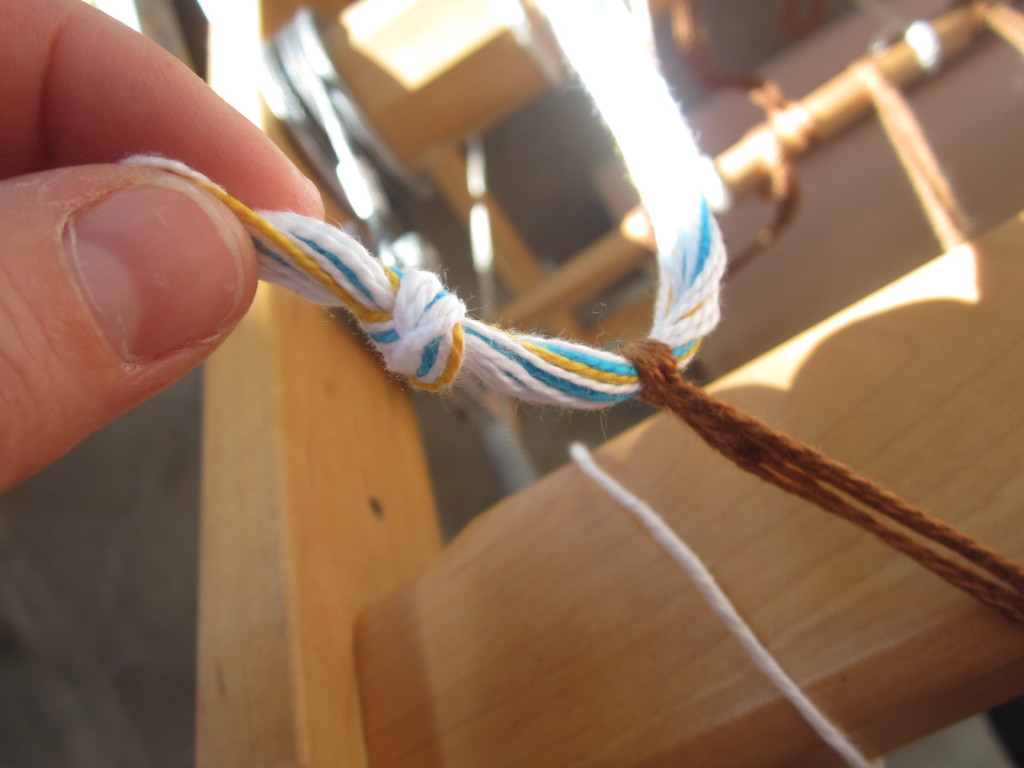
Then you start pulling the project out of the loom. The warp threads can sometimes get tangled, and you don’t want to mess up the warp inside your woven piece, so you gently pull it and untangle warp threads behind the heddles.
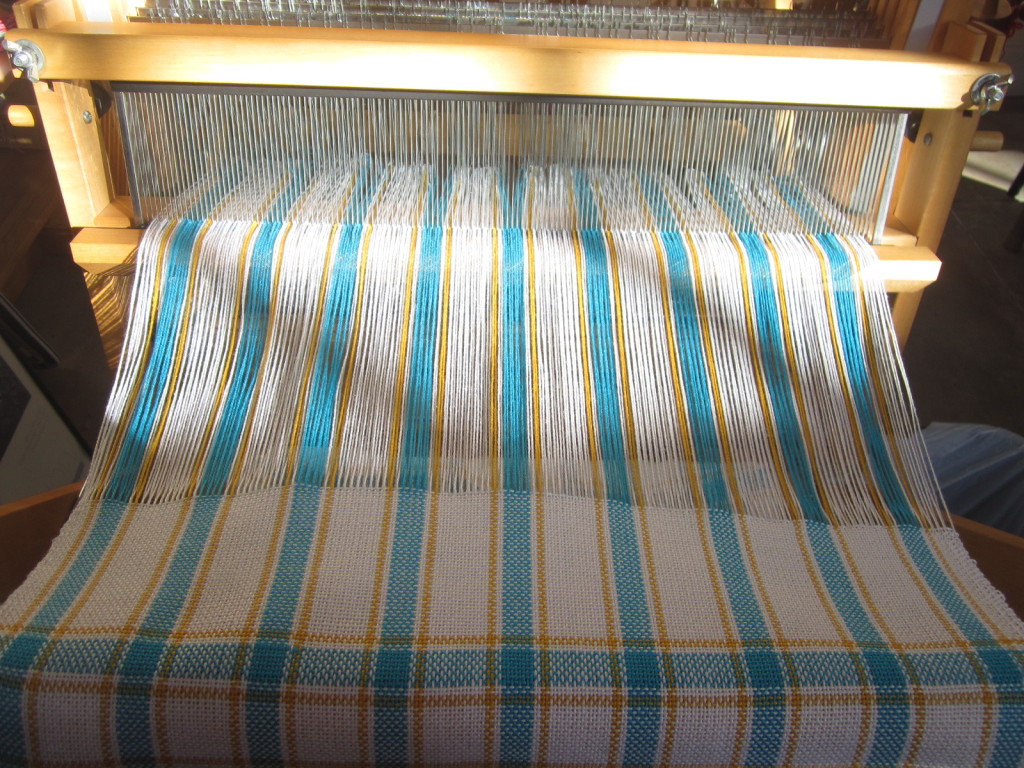
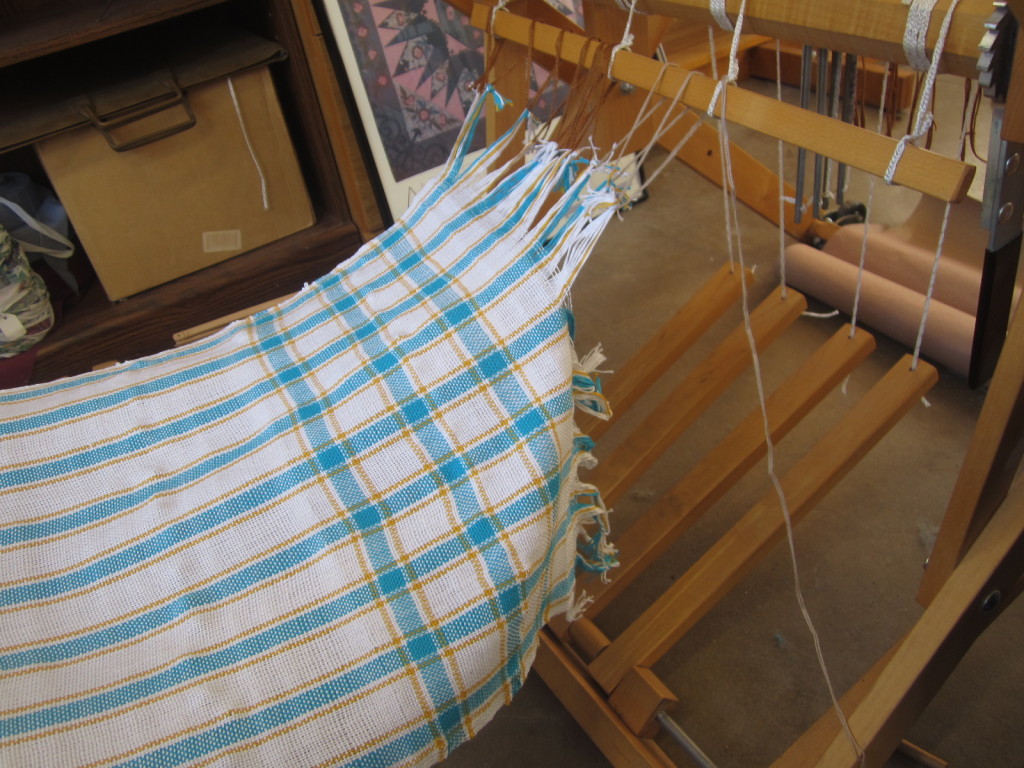
Once the warp is all the way out from the heddles and reed, you tie the extra warp in loose overhand knots just to keep them organized. You then unroll your project from the cloth roller. Here’s what my second towel looked like as I was unrolling it:
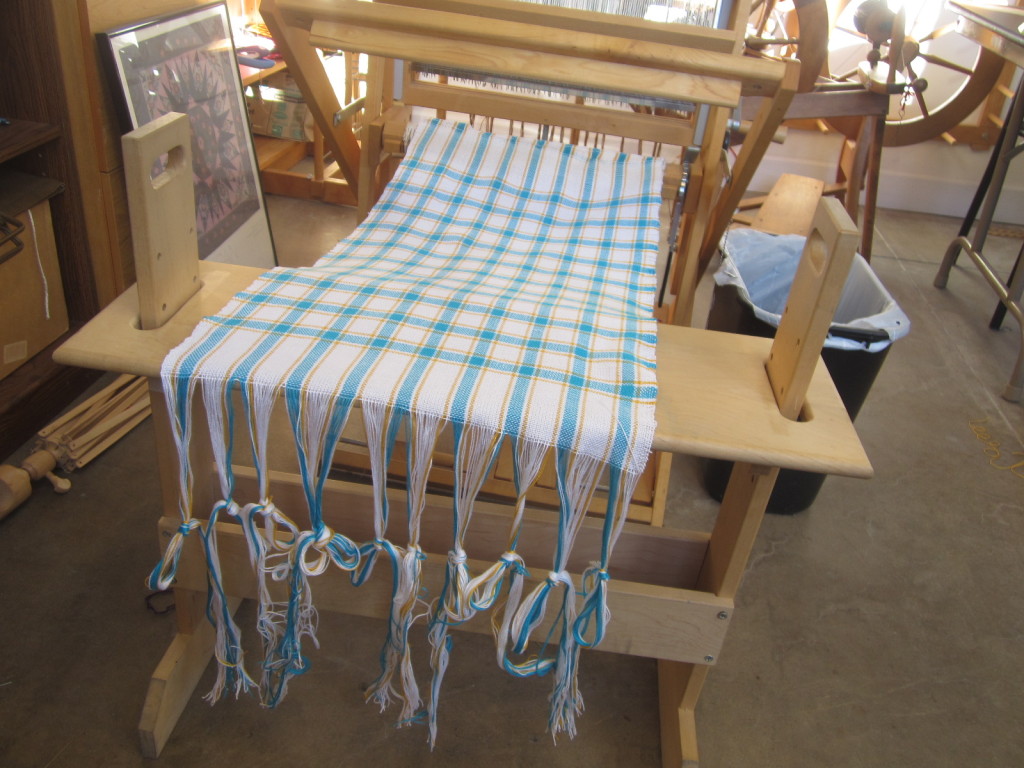
Then I continued to unroll my project – here was towel #1. You can see there are a few lumps and bumps in it. That’s because I had added sticks to increase tension, and I also had to fix a few warp threads as I went.
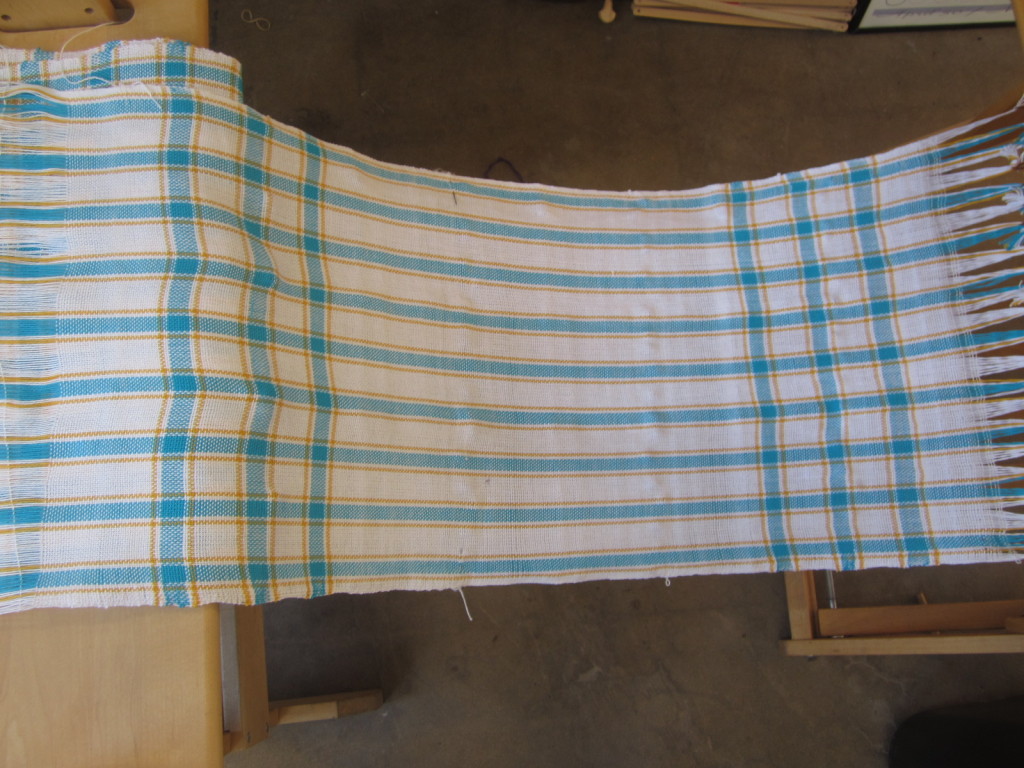
Once the projects were unrolled, I untied it from the apron stick.
Fixing Loops in the Weaving
My towels had a few issues that my teacher Marilyn taught me how to fix. The first issue was a situation where I missed a warp thread during weaving:
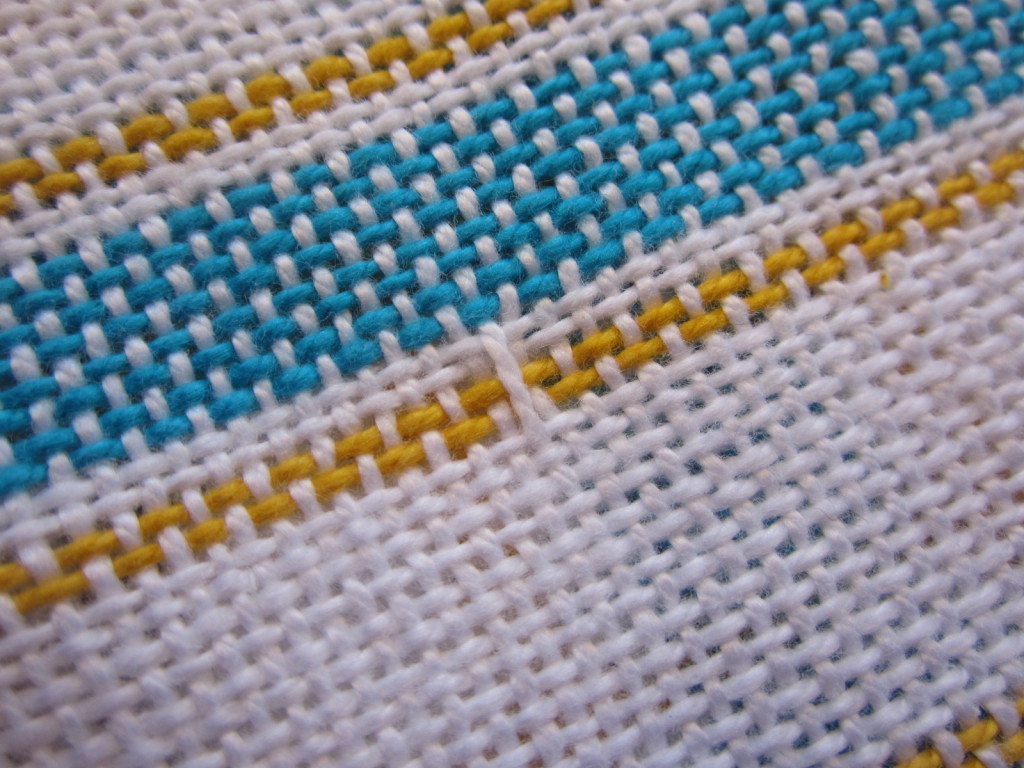
She taught me to put in an extra thread at that spot, and cut the incorrect thread:
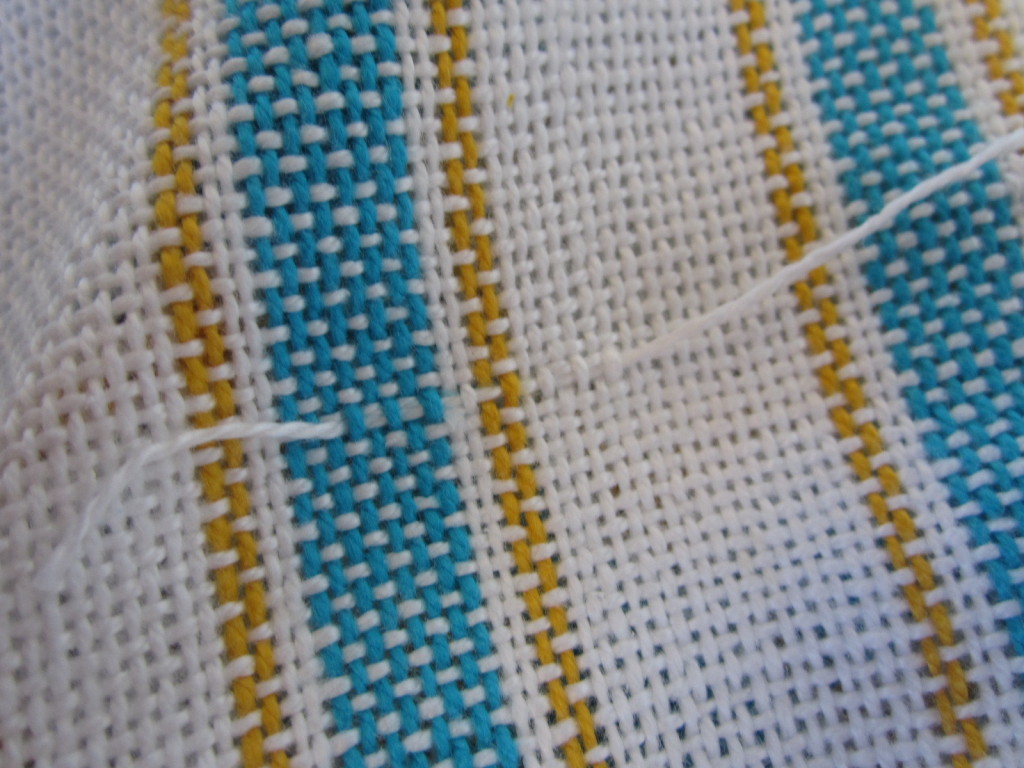
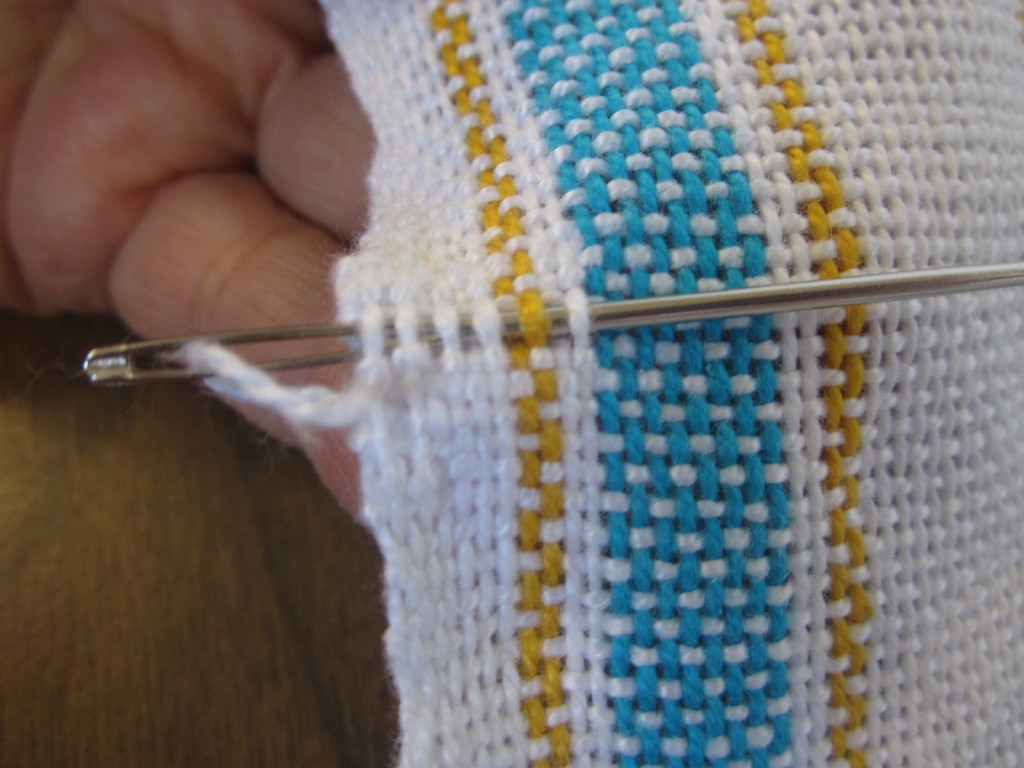
In another spot, I had a loop on the edge of the towel. She cut one end of the loop near the towel, then put a darning needle over and under the nearby warp threads. Next you put the loop into the needle and pull it through.
Adding a Fringe to a Woven Piece
My project was towels, so I was not adding a fringe, but Marilyn showed me how to add a fringe on a scarf she was finishing.
First she zig-zagged the edge. Then she divided up the warp threads into an even number of clumps. She started to wind them both in the same direction.
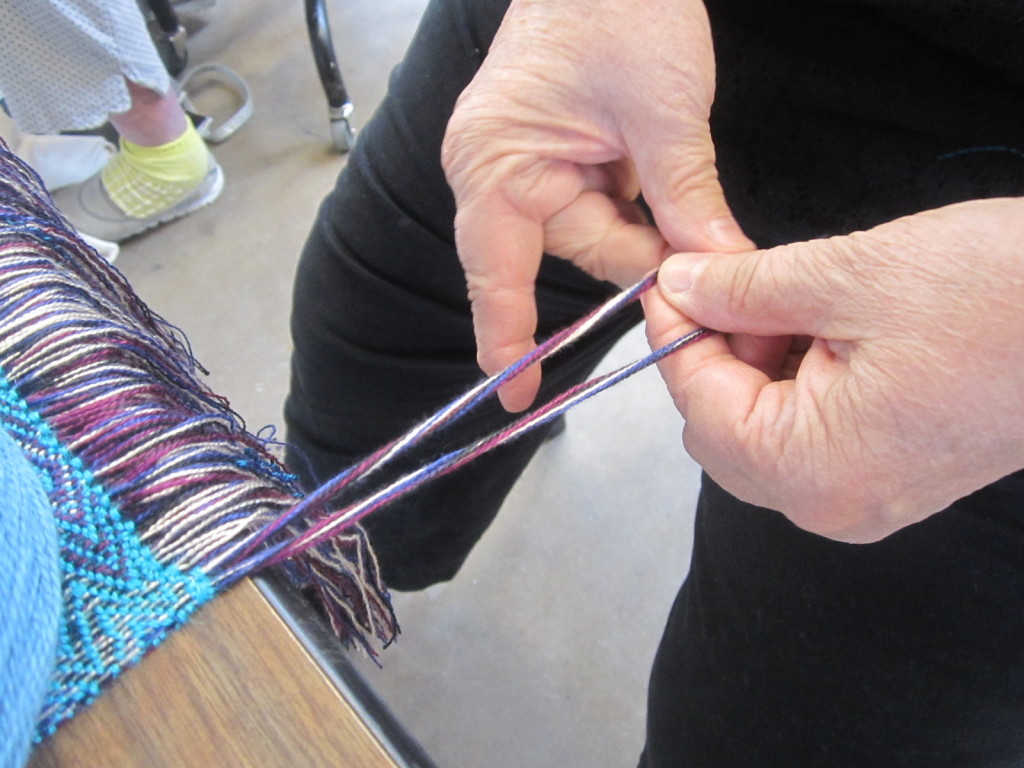
Once she built up some tension in the bunches, she rolled them together, again in the same direction.
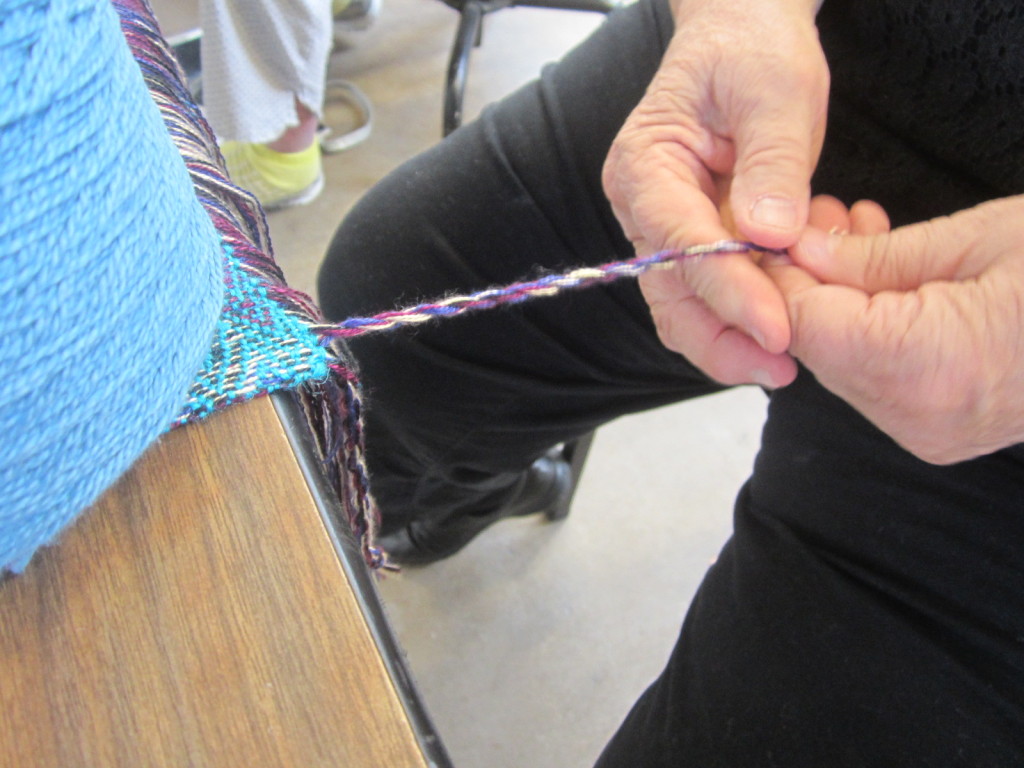
Doing this by hand was time consuming. She had a nifty tool that is used to make twirls in hair, something called an Electronic Twist Braid Maker. It made much tighter fringe and faster too. She also showed us a Cord Maker that worked the same way.
Hemming My Towels
To finish my towels, I took them home and zig-zagged the edges with my sewing machine.
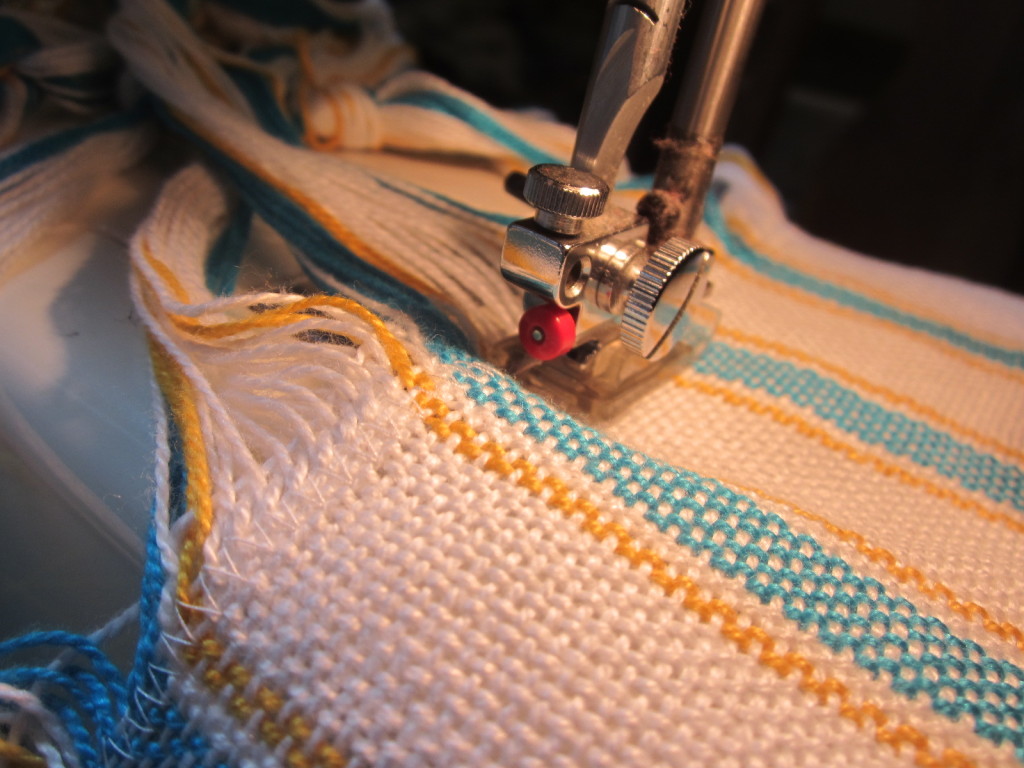
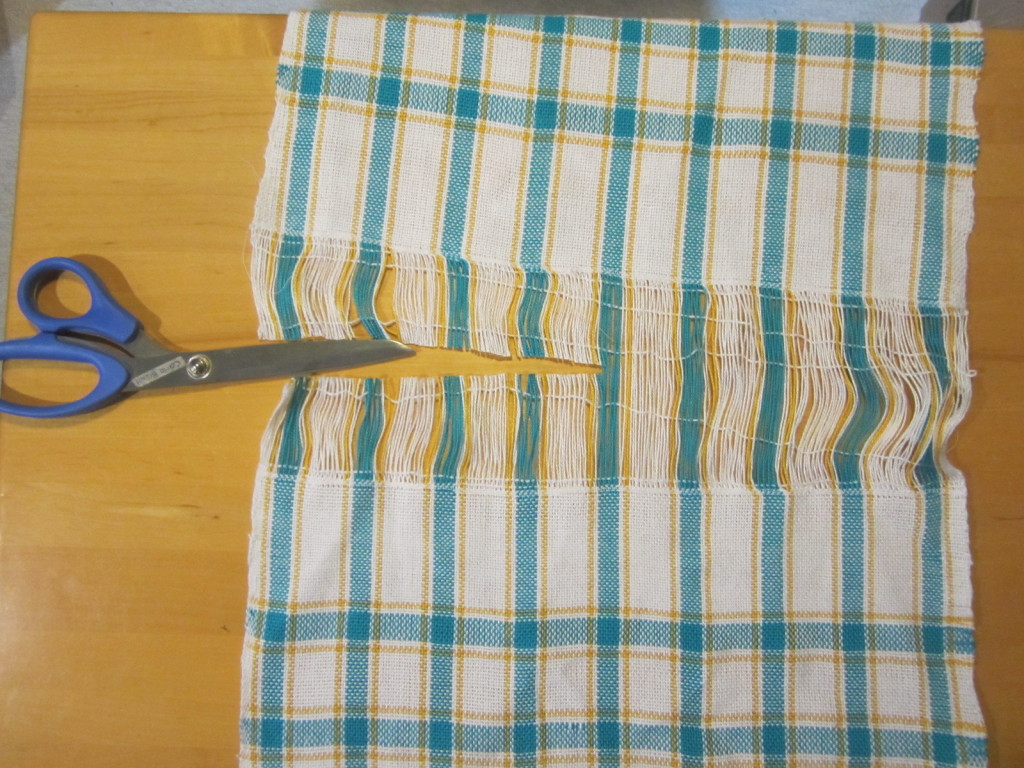
I then separated the two towels by cutting them apart with my scissors.
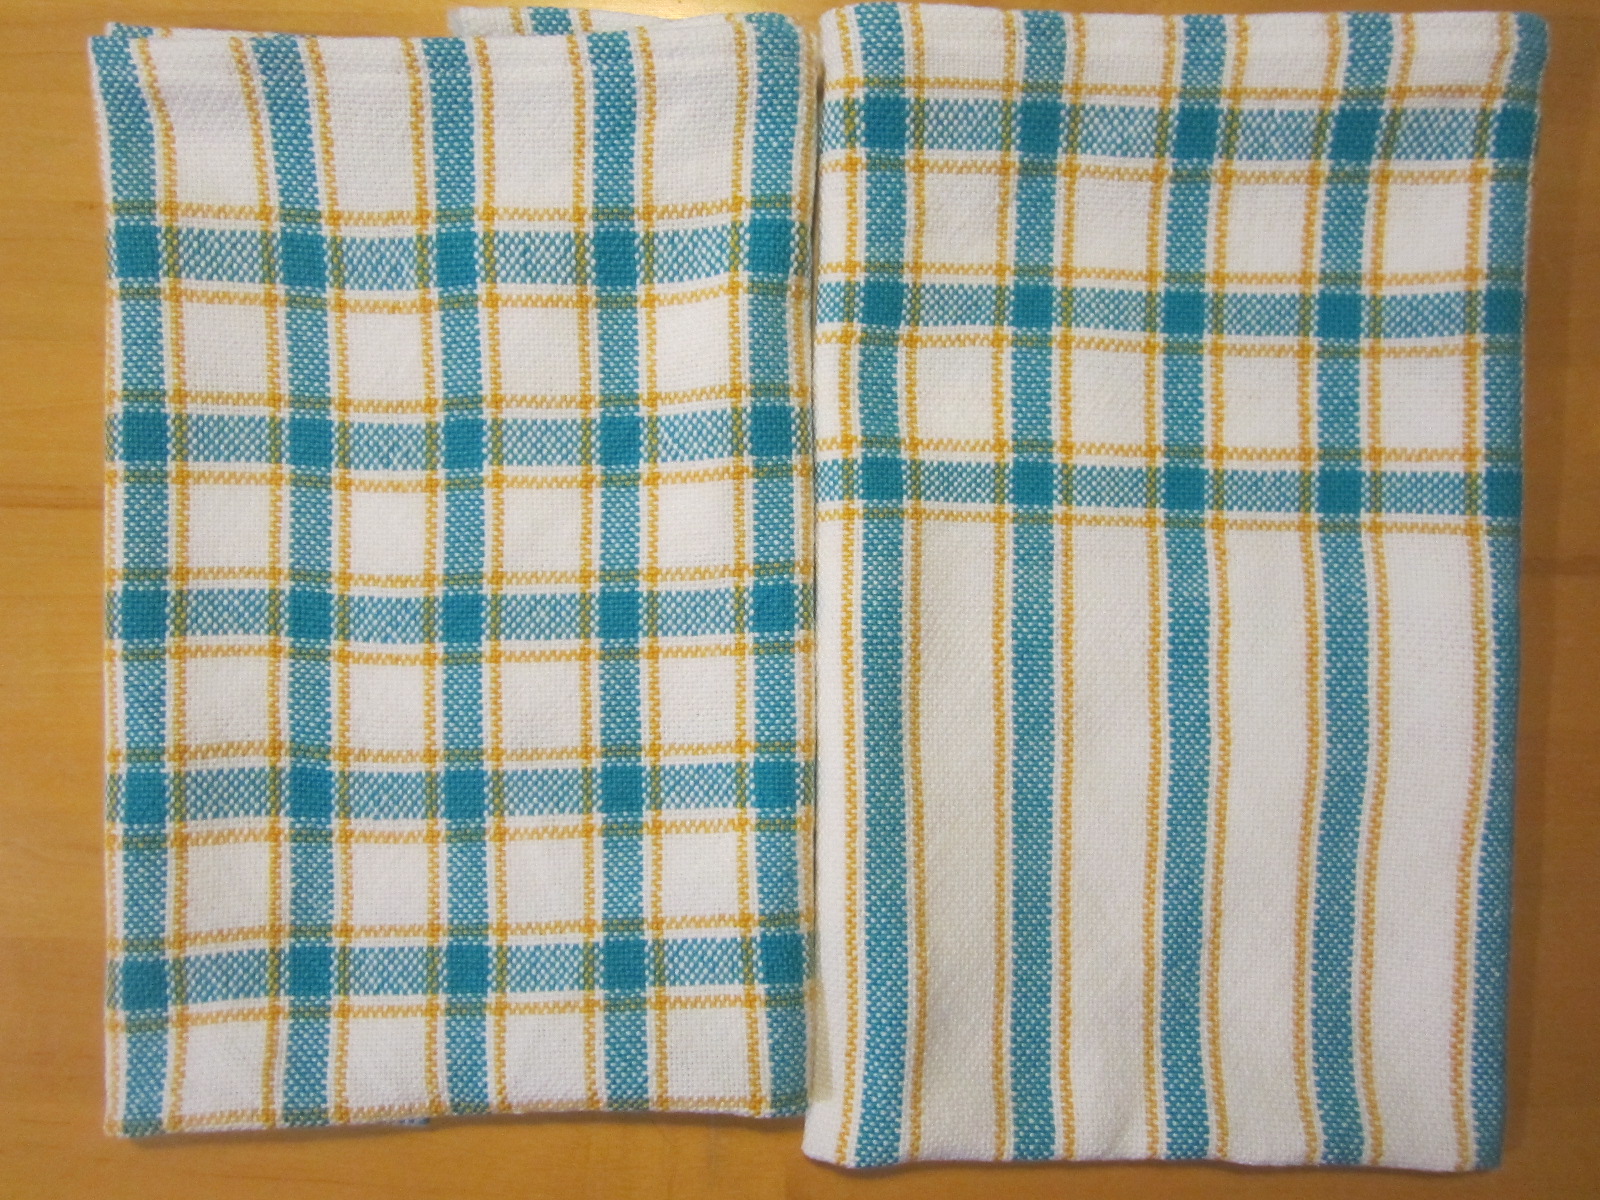
Then I washed and dried them. Washing and drying the towels caused the fibers to puff up a bit, filling in some of the holes from my un-even edges. And they smelled wonderful. Finally, I ironed over the edges and hemmed them into place.
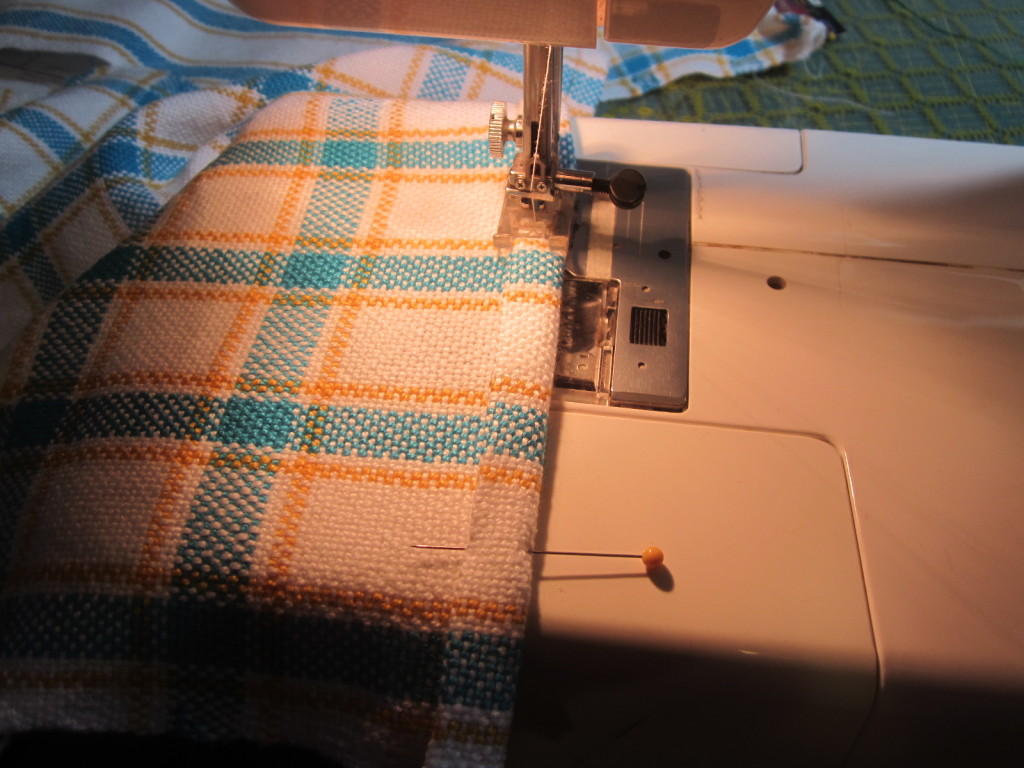
My towels are beautiful and so soft. While making them was wonderful, I am equally if not more happy that I blogged about the process while it was fresh in my mind, so I can follow my notes to make more projects on my loom at home. It was such a gift to take this class, and do something I always wanted to do.
