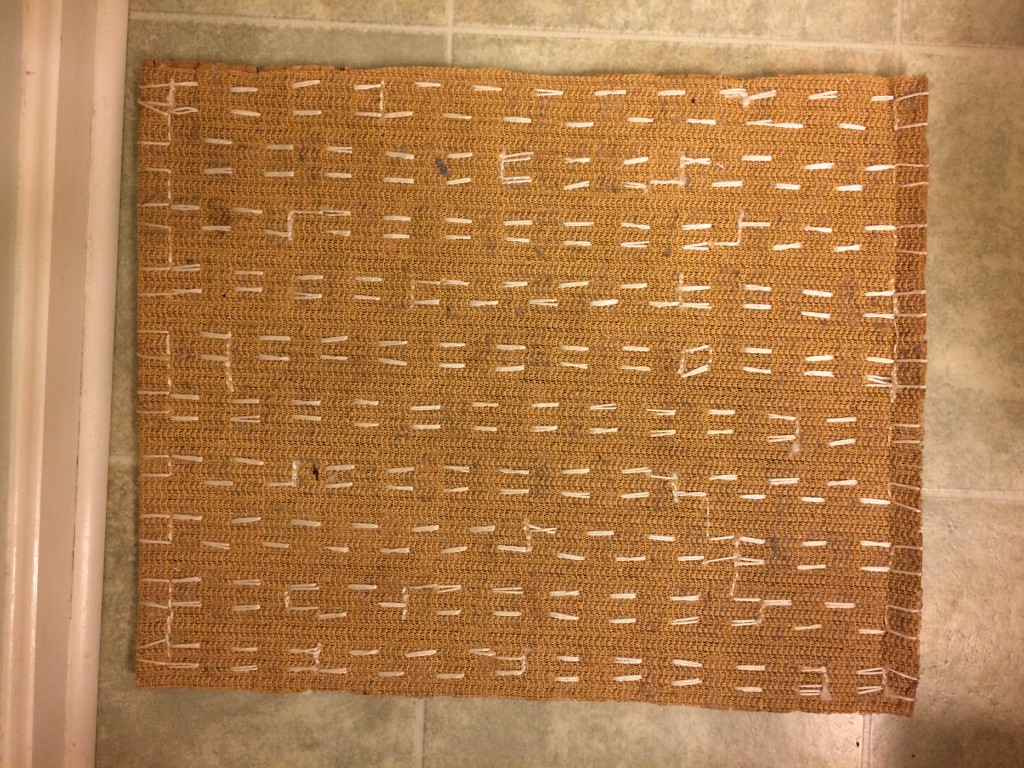
Gathering Enough Wine Corks
We don’t drink much wine, so to gather enough corks for crafting, I set up a bucket at work to gather wine corks. Once I had 500 corks, I would put them in a bag and offer it on Freecycle to keen crafters. The corks were always quickly taken.
One time, I decided to make something myself. I found instructions on how to make a wine cork bathroom mat at Crafty Nest.
How I Made My Wine Cork Bath Mat
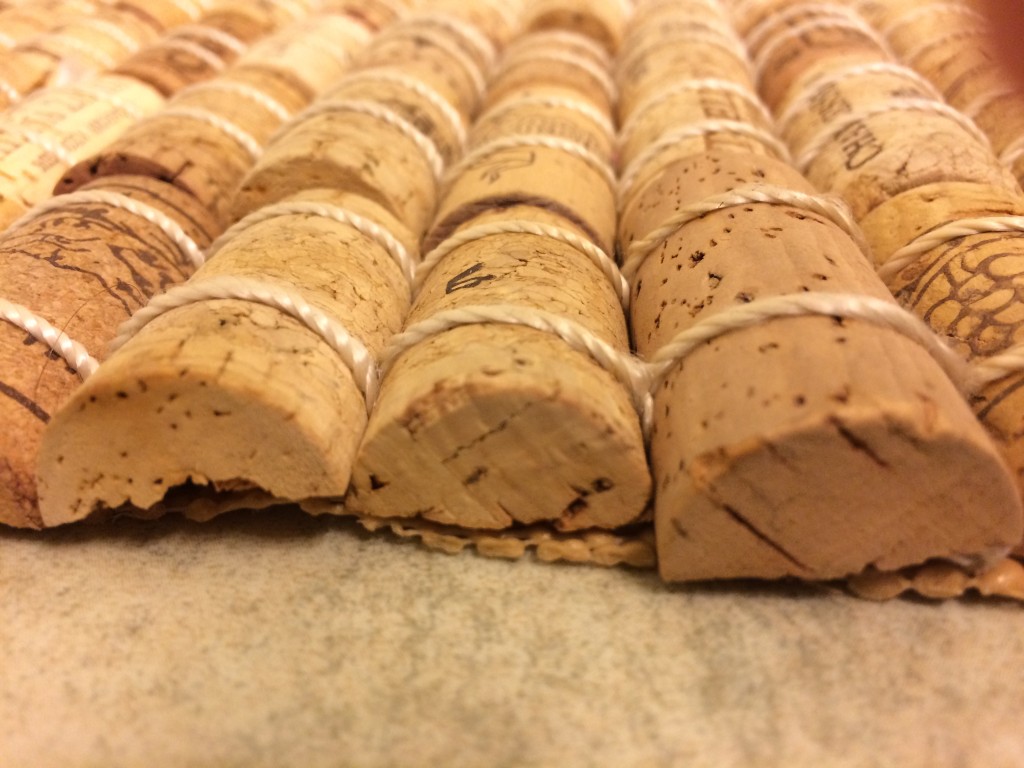
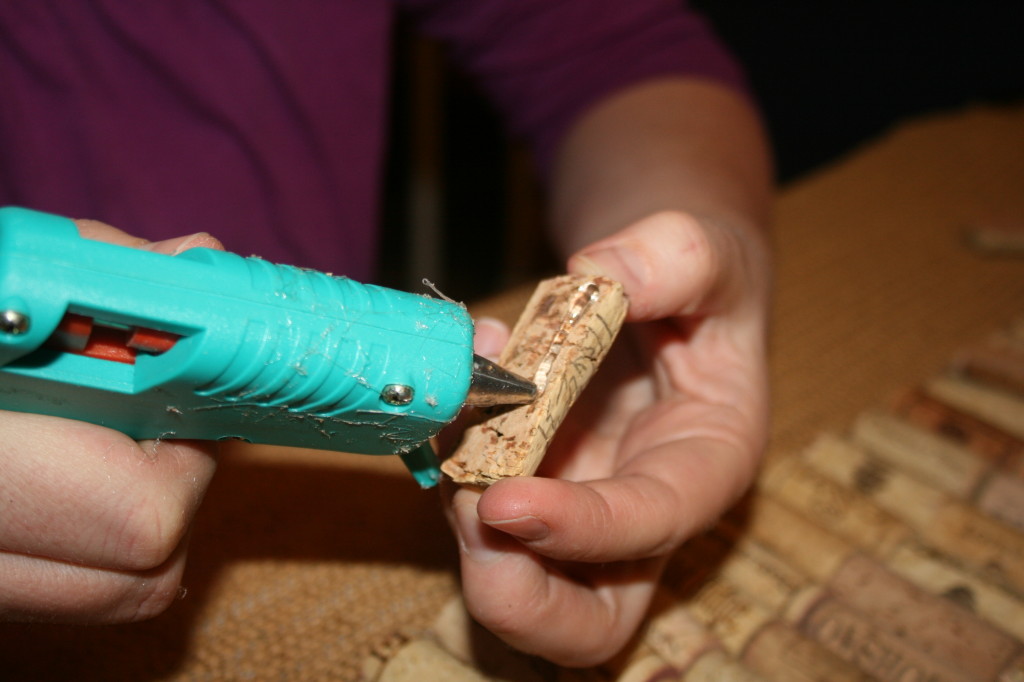
I used a folding lock back utility knife to cut my wine corks, on a scrap piece of wood 2×4. I later learned this is safer if you use a large binder clip to hold the wine corks while cutting.
In those instructions, the crafter attached wine corks to a shelf liner using hot glue. I learned quickly that you should do this gluing on a piece of scrap cardboard to protect your table top.
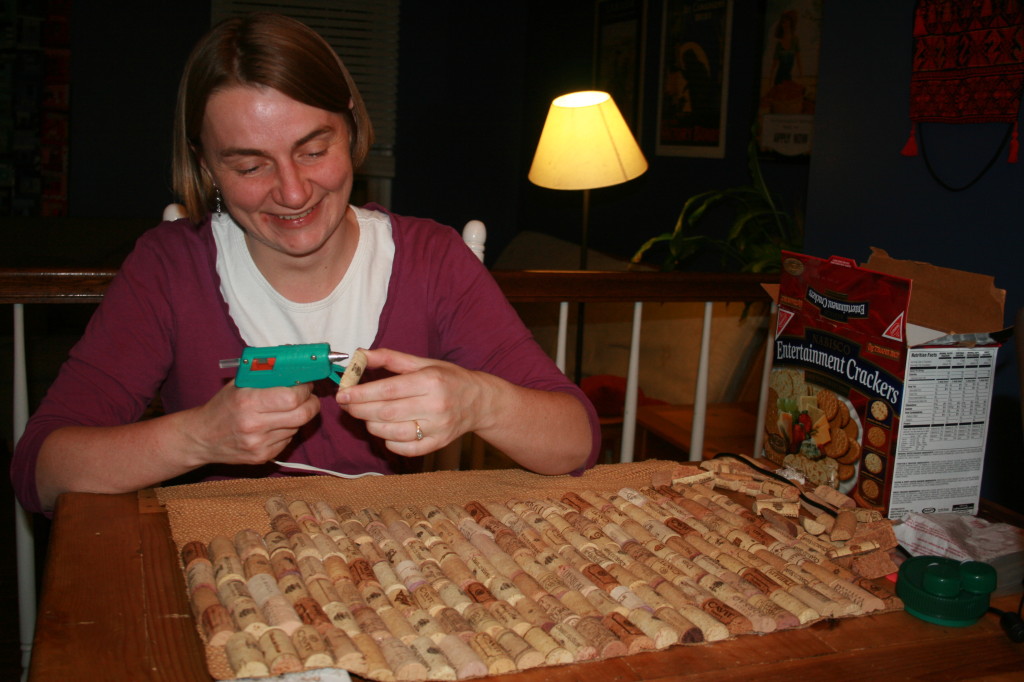
I have blogged in the past about my dislike of most glue-based crafts, but I followed her instructions and went through many glue sticks. I put the mat in our guest bathroom, and watched it to see if the corks would fall off or get damaged through use. I have two children who are not gentle, so they gave the mat a good test.
Glue Was Not Enough
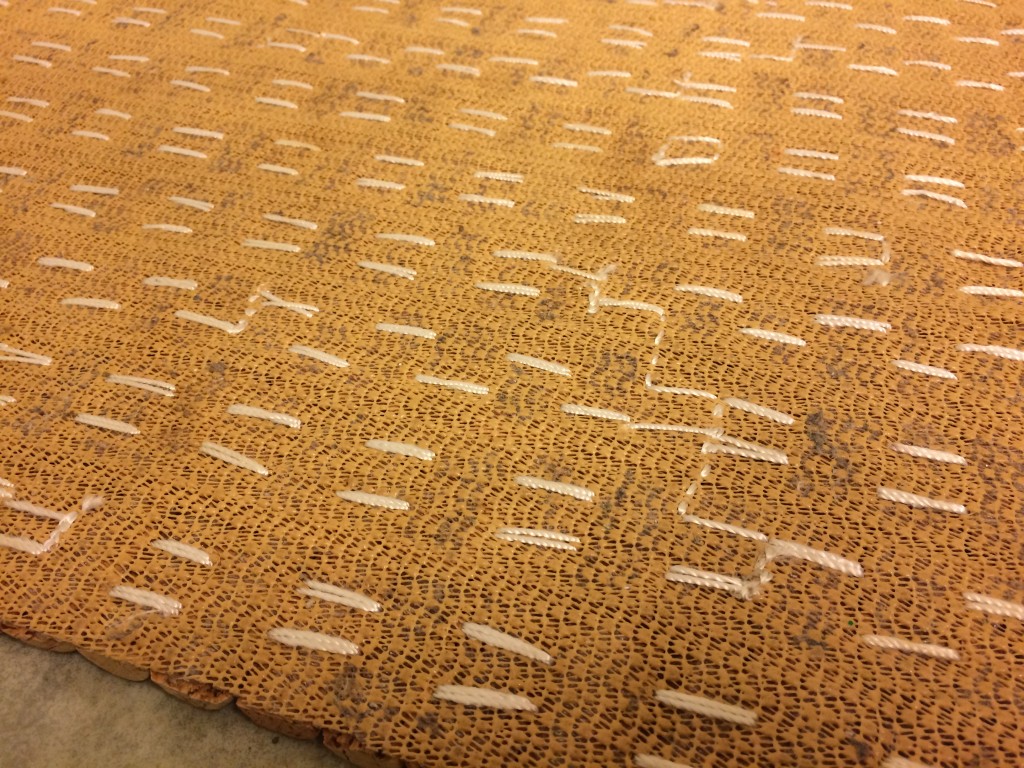
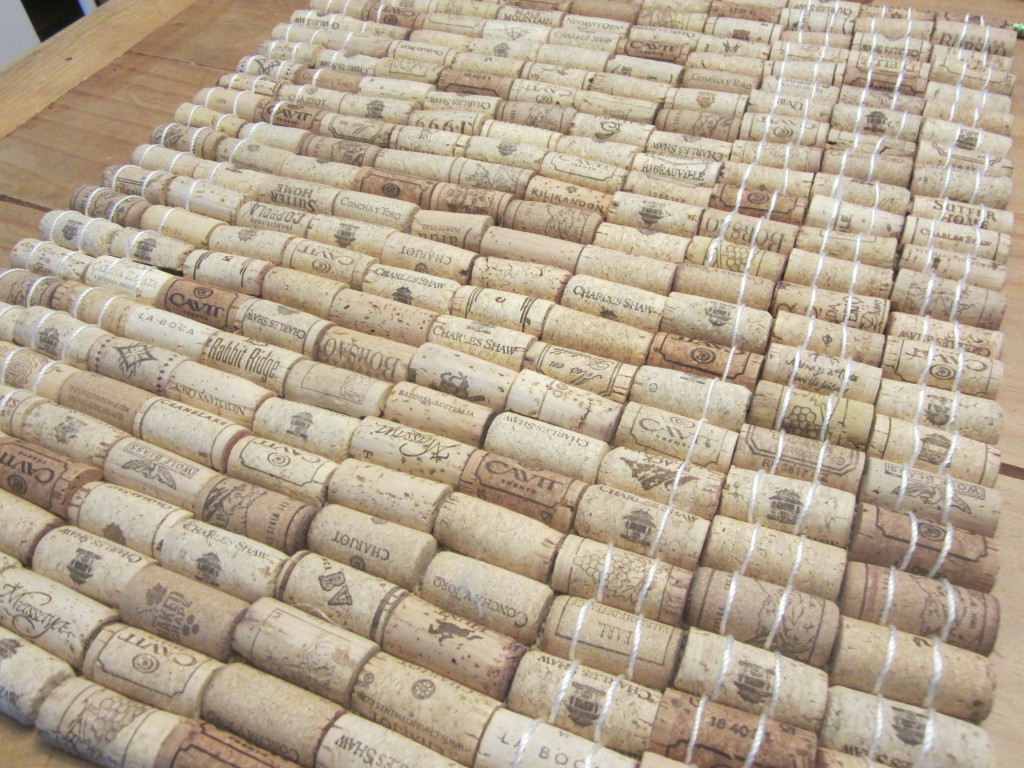
Perhaps in a child-free household, glue would work, but after about one year, a few corks started to fall off. And once they started, it became easy for the others to fall off too. I decided to sew the cork halfs on to the shelf liner to make the mat more sturdy.
For the row that had fallen off, I tried sewing them without glue, and I learned that you need both glue and twine. When I tried to sew, the corks bunched together and did not lie flat on the shelf liner. So I had to pull out my sewing, apply glue and that worked well.
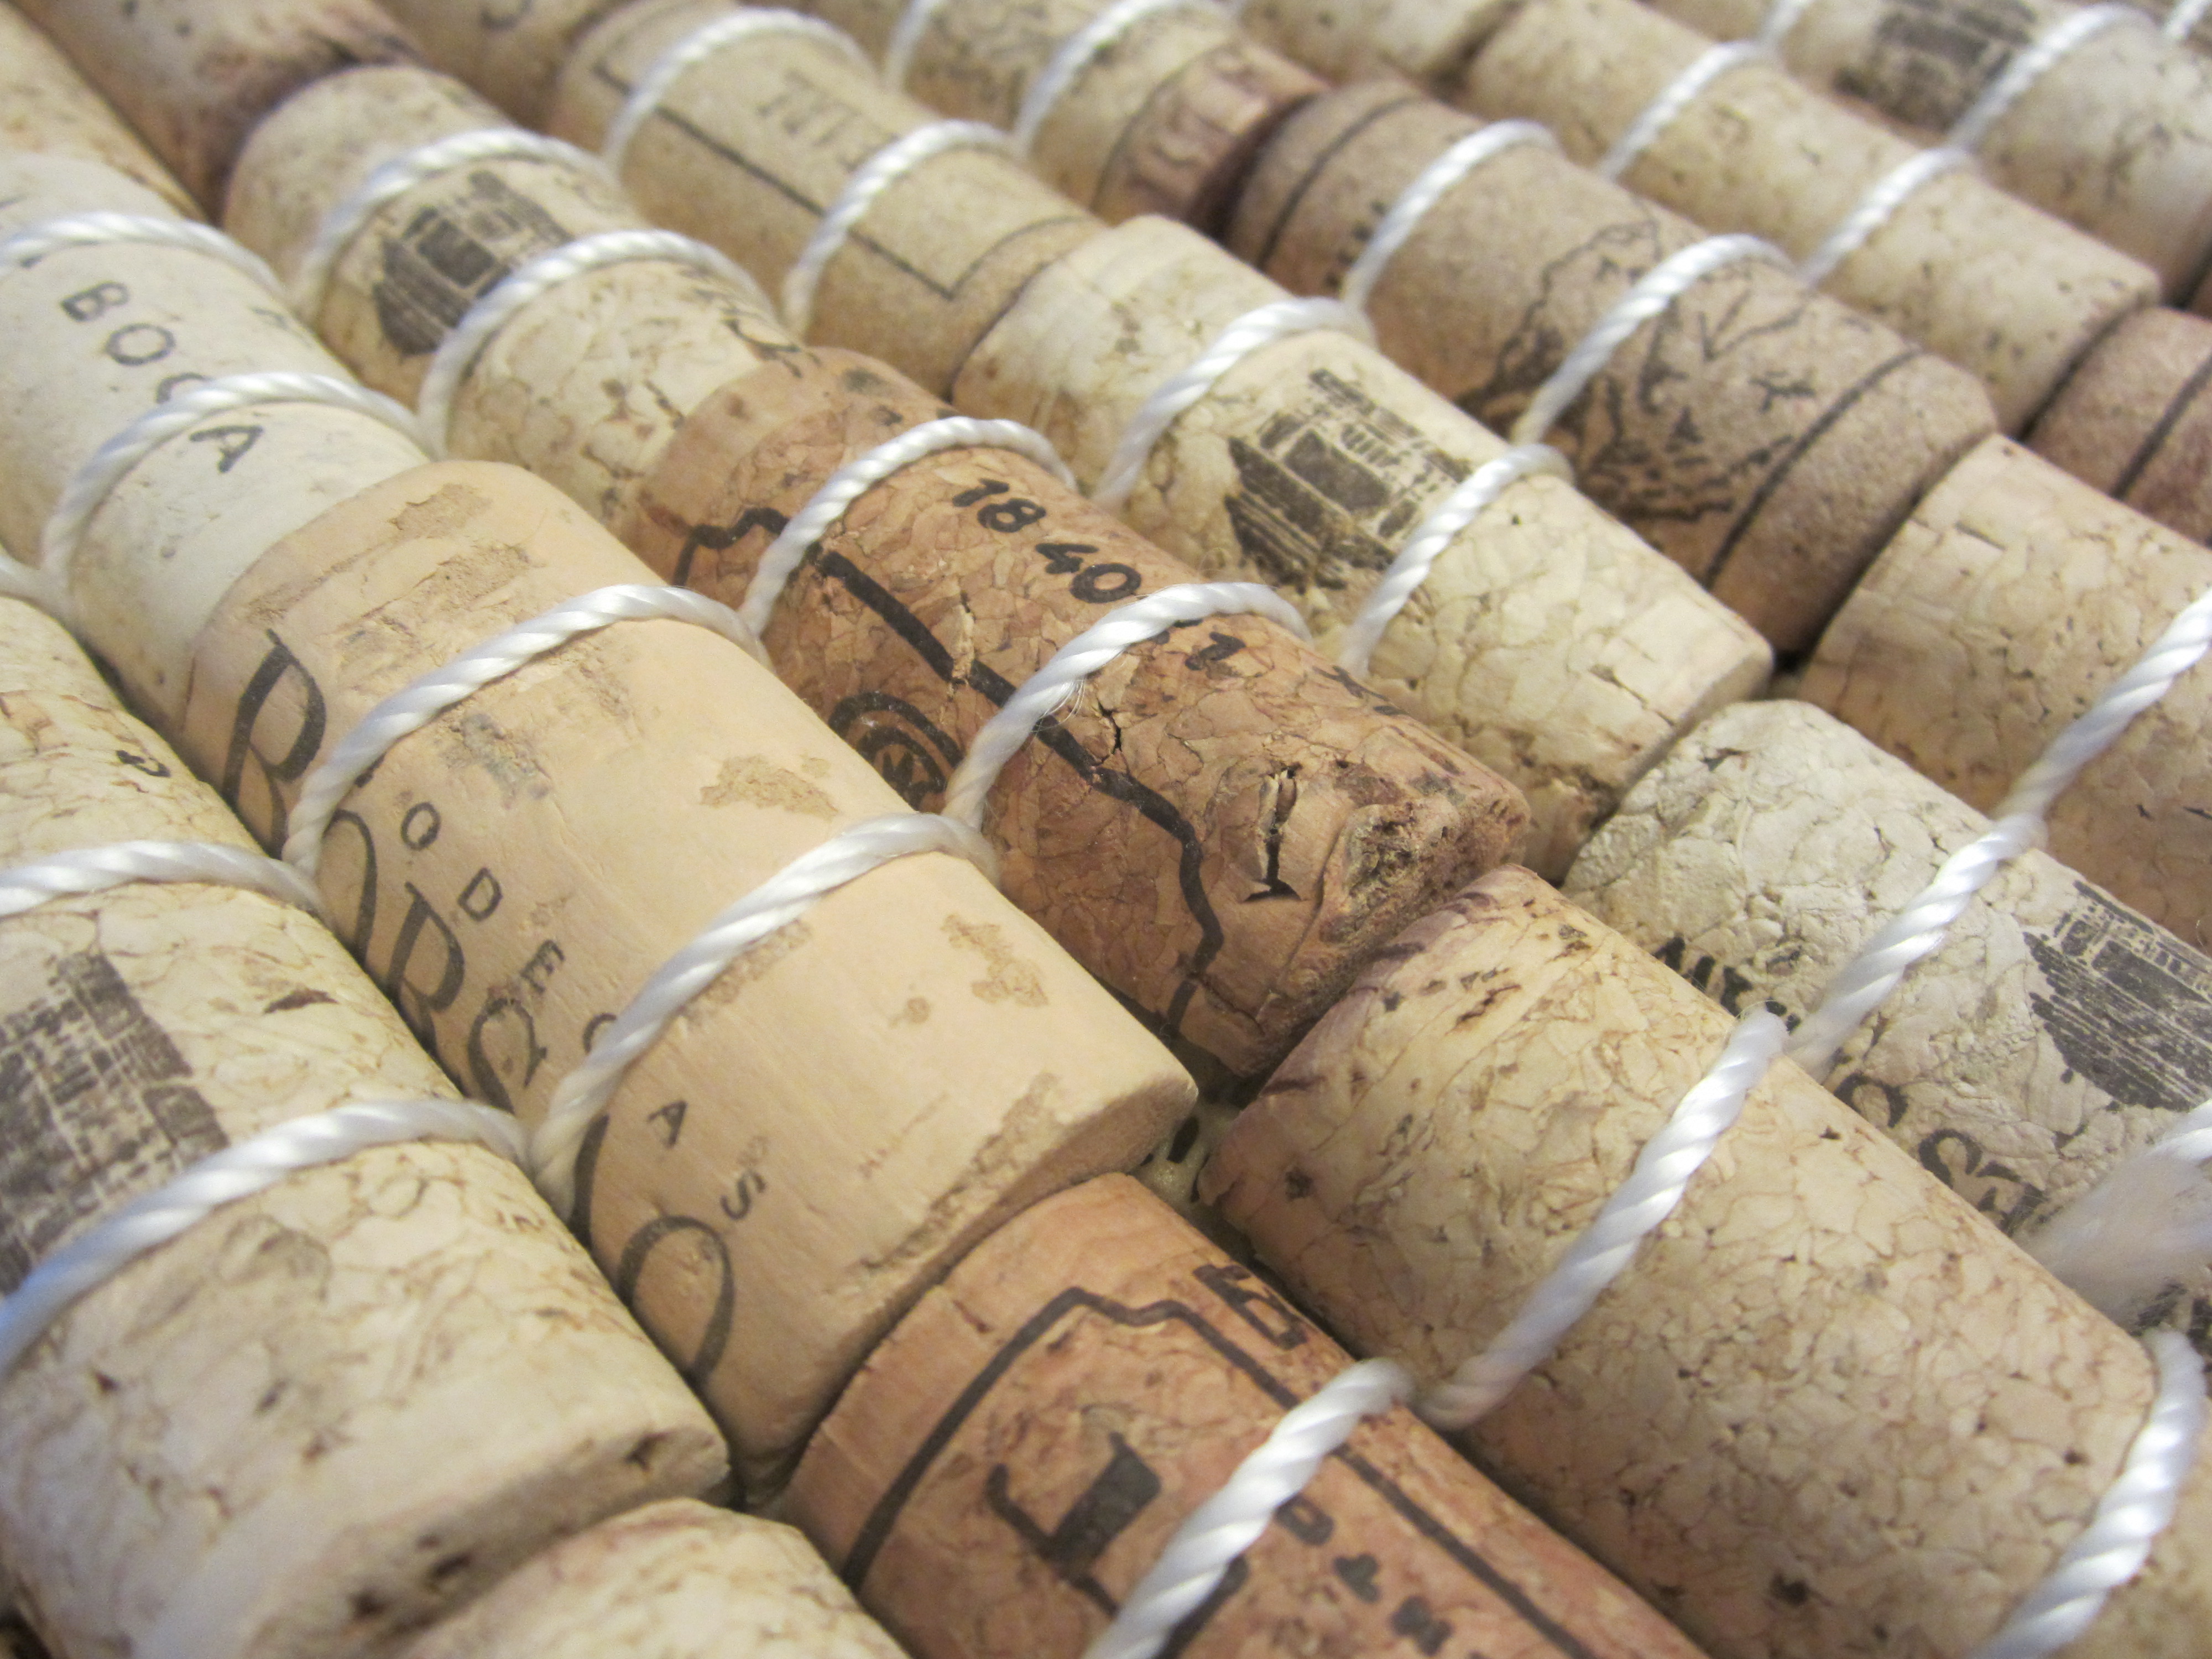
How to Sew On the Wine Corks
First, I purchased white nylon tying twine. I took care to buy nylon rather than cotton, to avoid mildew growth. I got a large basting needle and doubled the twine. I tied a knot and came in from the top of the mat, burying the knot underneath in the gap between the corks. The corks are glued down the center, but can be lifted and bent back slightly to hide the knots. Then I brought the needle underneath the cork and looped over it. I continued this way up and down the mat.
Will the Corks Hold This Time?
We’ll see! Back it goes into the guest bathroom, and the kids will do their best to test my method this time!
What wine cork crafts have you made? Tell me your favorites!
Update: June 10, 2015
I had a request for photos showing the underside of the mat and an update about how it is holding up. It is doing great after two years! I have had to sew on 1-2 corks along the edge a few times, but otherwise, it’s doing well.
Here are photos showing my stitching under the mat: