In spring 2010, I designed a kit for pre-school teachers and childcare providers. The idea was that teachers would subscribe for a monthly kit to be delivered. The goal was to help the teacher take students outside.
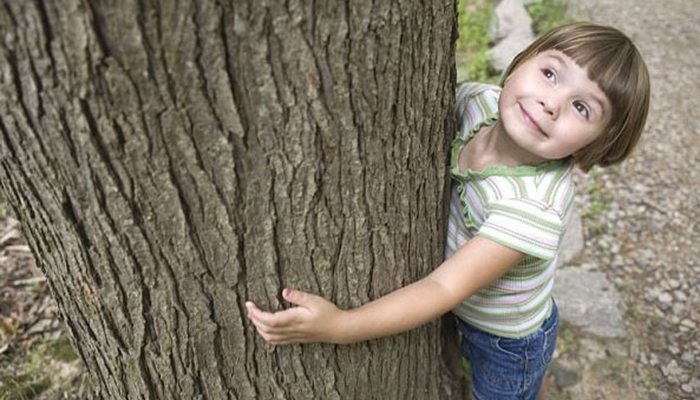
The class would choose a tree that would be their friend, and they would visit the tree throughout the year. Each month, the kit would contain materials that allowed everyone in the class to interact with the tree. I tried to make many kit materials from recycled materials.
I got the idea to make a tree the centerpiece of the kit because we have a tree in our front yard which Nora has always called “Sister Tree” since she was little. We have done many activities around our tree.
Here were some of the activities I designed for the kits:
Garlands
I thought the kids would enjoy decorating their Friend Tree with seasonally appropriate decorations. For the fall, I came up with this pumpkin garland made from recycled plastic caps. Each students would get to design their pumpkin face, and then they could take turns sewing them on the garland.
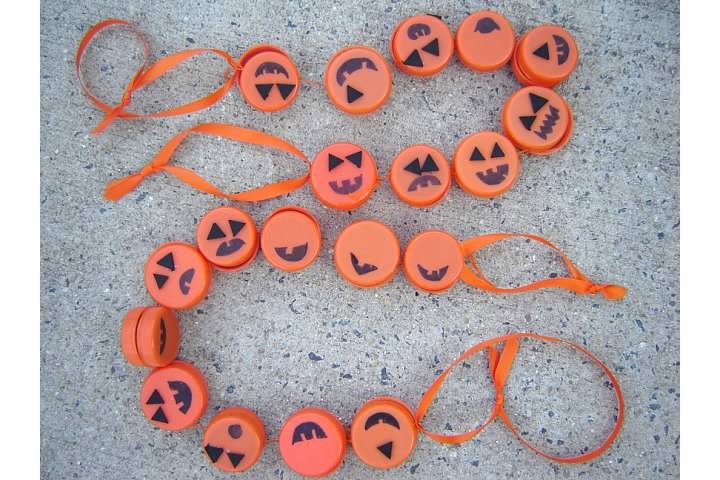
I shared this idea at the Lake Tahoe Family Nature Summit where the participants made necklaces with just a single pumpkin for our “Green Halloween” activity.
Other garlands that could decorate Friend Tree would be:
- frozen circles filled with colorful tissue paper balls (for a cool weather activity)
- pompoms made from plastic bag yarn
- pressed flowers inside contact paper circle ornaments
- spider web ornaments – cardboard hoops with holes around the edge, & the kids criss-cross yarn to make a web
Curtains
I first saw this idea at the Locust Grove Nature Center. It was always one of our favorite nature centers because it has giant grizzly bears carved from logs, a sand pit and many cute creative items put out by the naturalists. My daughter Nora spent a long time at this log furniture and curtain combination during one of our visits.
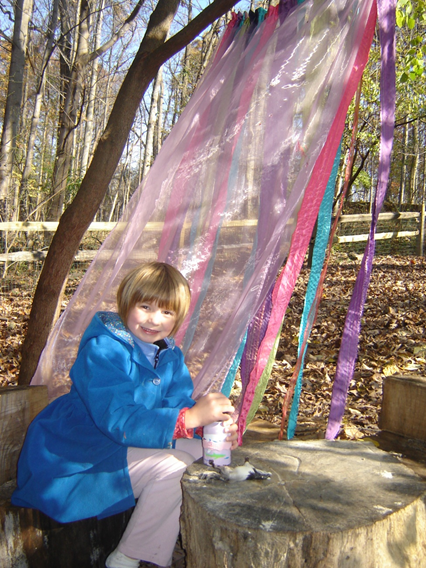
To make my own magic curtain but from recycled materials, I got some boxes of sample fabrics from an interior designer through Freecycle. The boxes contained many sheer fabrics used for curtains. I sewed together the samples to make a multi-textured curtain and incorporated some ribbons. The idea was that one curtain hanging from a branch provided a stage. Two hanging from a branch and pulled to opposite sides could make a tent.
A Butterfly Life Cycle Toy
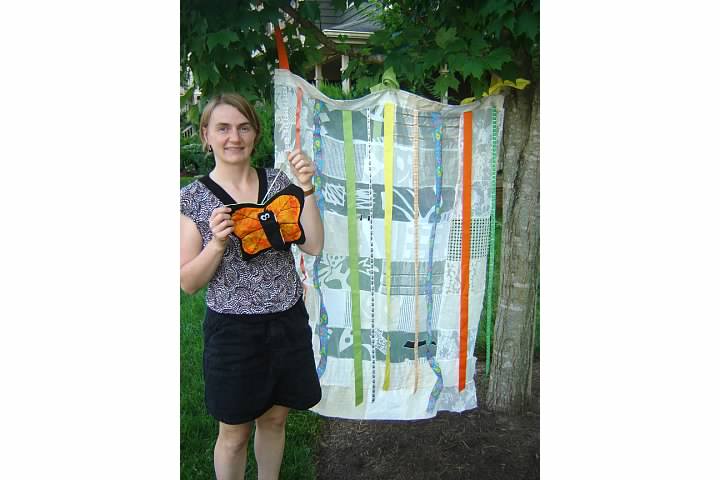
To make this educational toy, I sewed a set of wings that looked like a monarch on one side and a chrysalis on the other. Then I sewed a long skinny shape that looked like a monarch caterpillar on one side and a butterfly body on the other.
When I tested this toy with kids, I pinned a milkweed leaf shape on my shoulder and balanced the caterpillar on my other shoulder. Then I told the story of the caterpillar’s journey. It was fun how every part of the story transformed.

While the kit never became a product that went to market, this changing butterfly craft was simplified and featured in Your Big Backyard magazine and later on the Kids website in the Family Fun section. I framed the prototypes with the layout because I was so pleased.

Sit-Upons
If the students were going to spend a lot of time with their Friend Tree, they would likely be sitting on the ground, and they need to keep their seats comfortable and dry.
When I was a Girl Guide, we made sit-upons from plastic bags and newspapers. But I have been sewing cool bags from juice pouches for years, and realized the juice pouch material would make the perfect sit-upon. With a layer of towel inside to make it more comfortable, I realized the kids could sew together their sit-upons if they were pre-punched. Shoelaces make the perfect sewing material because they already have toggles on the ends.

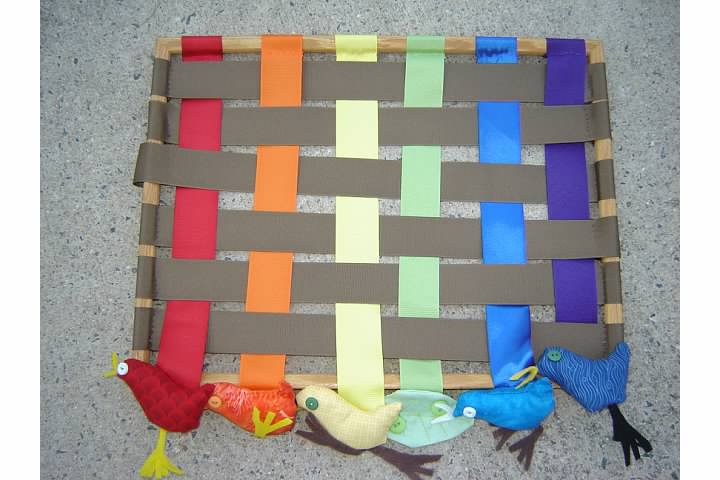
Nature Loom
The idea behind this toy was to have some birds weave a nest made from ribbons on a picture frame. It requires a good amount of coordinated thinking for kids this age, but when I tested it with a kindergarten class, I found they were quite able to weave the birds.
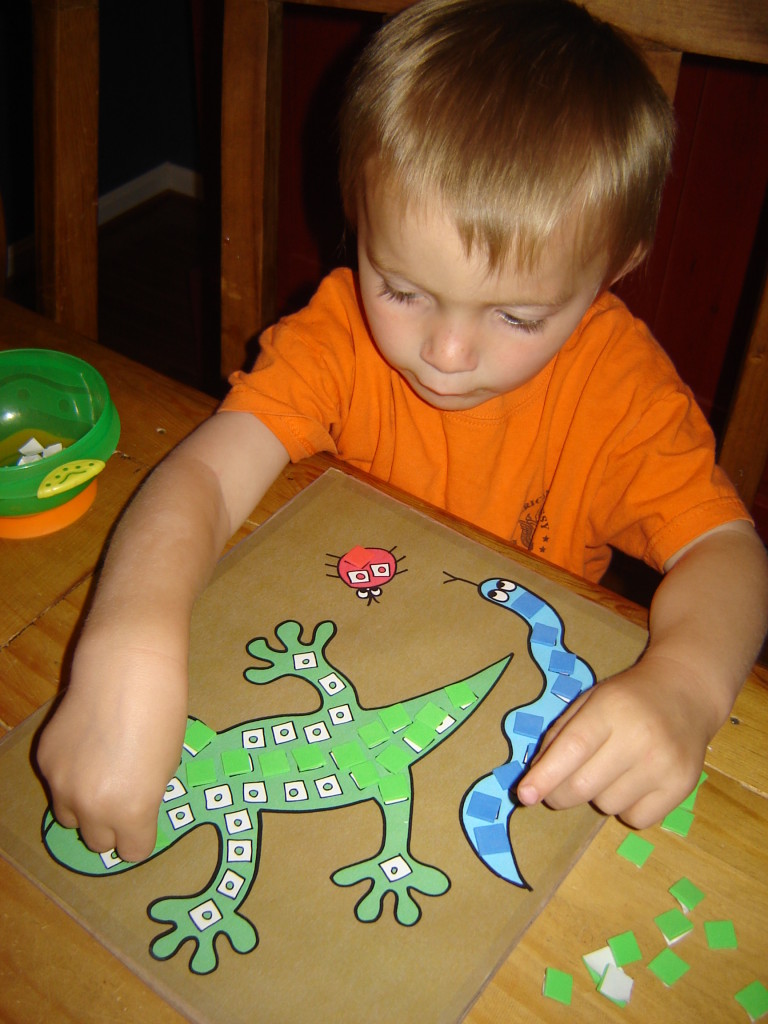
Friend Tree with Wildlife Friends Sticker Mosaic
At the time I was designing this kit, my kids were really enjoying these sticker mosaics where you get a sheet of foam square stickers and you color with them on a surface. I wanted to make a mosaic about Friend Tree where each child in the class could contribute to the mosaic, and then you would put all the mini-mosaics together to make one big picture. So you can see the prototype here, which I drew. Looking at it four years later, I still think it is very nifty! I tried to put at least one main character in each square and a variety of colors. For this prototype, I printed the images 8×11. Then glued them to cardboard, then put clear contact paper on the cardboard to make it stronger. Also, this allowed you to take off the squares if you wanted to do the mosaic again.
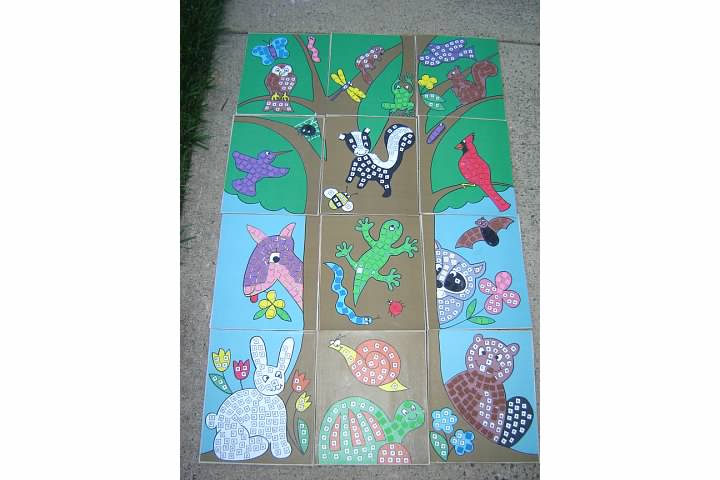
I tested the mosaic with my son Russell who was four years old and he loved it.
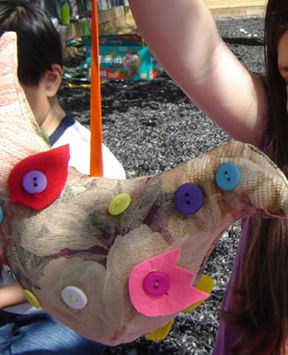
Button Bird
I figured the kids would want some birds to live in their Friend Tree, so why not have them decorate a friend? A common Montessori activity involves practicing with buttons, so I made this button bird. It is sewn from upholstery samples and felt scraps, with a ribbon to hang it up on the Friend Tree.
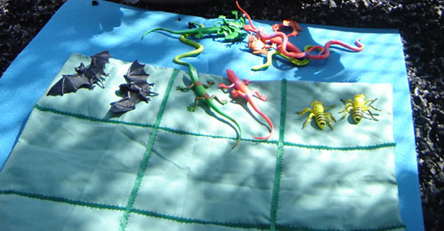
Match the Friends Game
For this game, I sewed a bag that opened up and became a grid. Inside the bag were plastic toys. The object of the game was to “match” the friends. However, matching could be interpreted more than one way. Do they need to be the same shape? The same color? It was up to the child to choose – and then explain their rationale to their classmates.
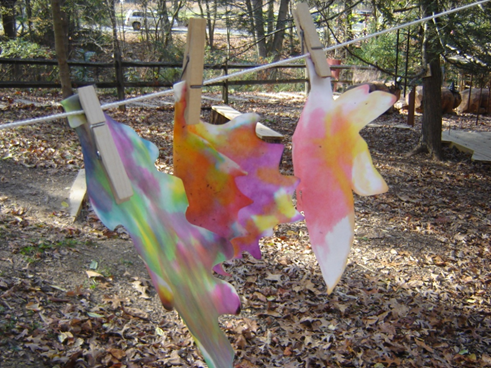
Watercolor Leaves
This was another activity I saw at Locust Grove Nature Center. You can buy watercolor paper pre-cut in the shape of leaves or butterflies. For this activity, we took eye droppers and watered down paint. Then the kids dripped the paint on to the watercolor leaves to make a blurry decoration. They could then hang it from the tree branches.
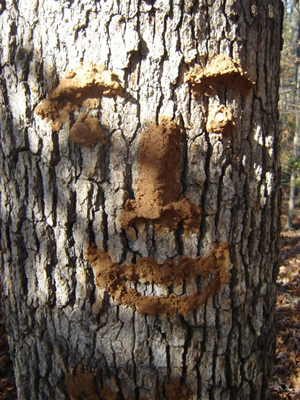
Clay Face
At some point, after spending all that time with Friend Tree, it would be fun to give it a face or maybe 20 faces. The kids could take clay and make faces on the tree for one of their activities. This tree was at Locust Grove.
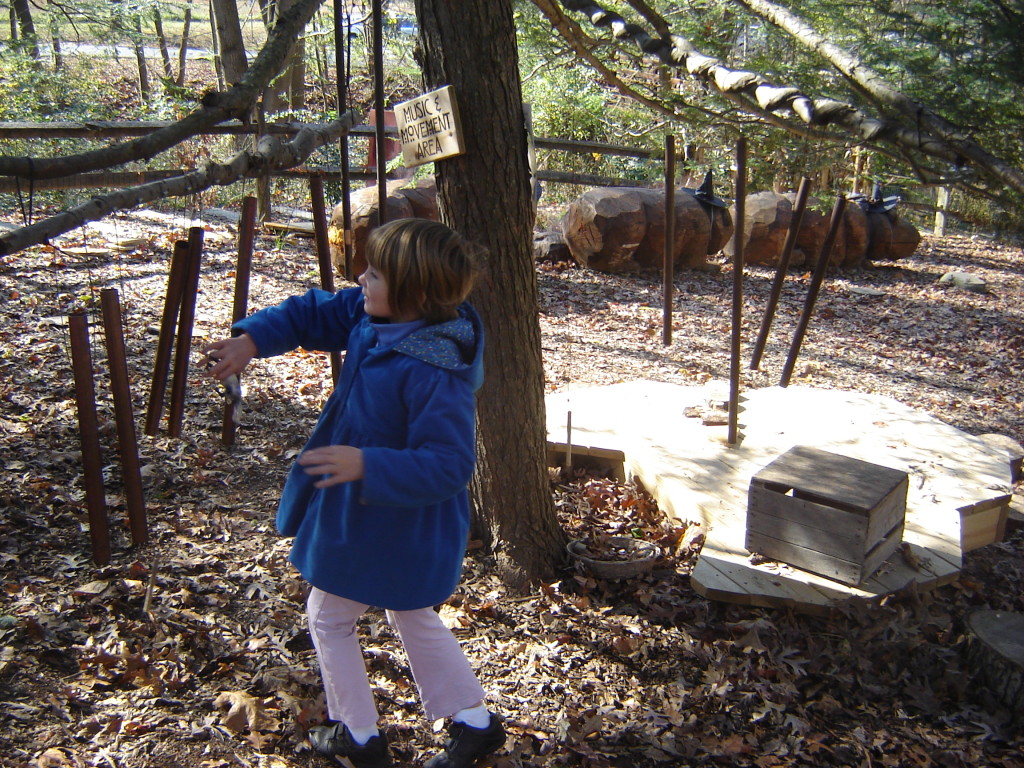
Percussion Tubes
This was a series of pipes in various lengths that you would hang from the tree branches, and allow the kids to hit them with spoons to make fun sounds.
Other Items for the Make a Friend Kit
There were other parts to the kit but I don’t have photos of them handy. They were:
Listening Ears – These were animal ears on elastic headbands. The idea was that the teacher would sit with the kids around the tree and they would listen to what sounds Friend Tree hears when they are not around.
Matching Pockets – This was a shoe organizer, the kind with lots of pockets that you could hang on the back of a door. The teacher would pre-label the pockets with things that the kids were likely to find around the tree, then hang it from the branch of the tree. The kids would gather them and put them in the pockets. These could be natural things like rocks & pine cones, or the teacher could spread out plastic caps in various colors & have the kids sort the caps by color.
Tree Banner – For this activity, the teacher would receive a large banner of a tree. The students would take rubber stamps of leaves and stamp on a leaf for each student in their class. They could then use a marker to write their name on each leaf.
What Happened to the Make a Friend Kit?
When we did the analysis of the costs to produce it and the amount teachers said they would pay, it was not a financially viable idea. Also, it is challenging to connect with teachers in a big way because school boards tend to decide what materials they will use. So it never progressed beyond the prototype stage.
But I am still proud of what I designed – and I thought you would enjoy reading about it. It was one of my first experiences in product design for a non-virtual product (given that my job is in the digital world). It was formative in my Trashmagination thinking.