I have already blogged about designing a weaving project, measuring your warp and then threading the warp on to the loom. Now we finally start the weaving, which is the part most people can imagine where you throw a shuttle filled with thread across the warp and it starts to look like fabric.
Choosing a Shuttle
The shuttle is the wooden object that you pass back and forth in your weaving. There are different types of shuttles that are best suited to different types of yarns or sizes of projects.
The one most people think about is a boat shuttle because it looks like a small wooden boat. You wind the yarn on to a bobbin that sits in the shuttle.
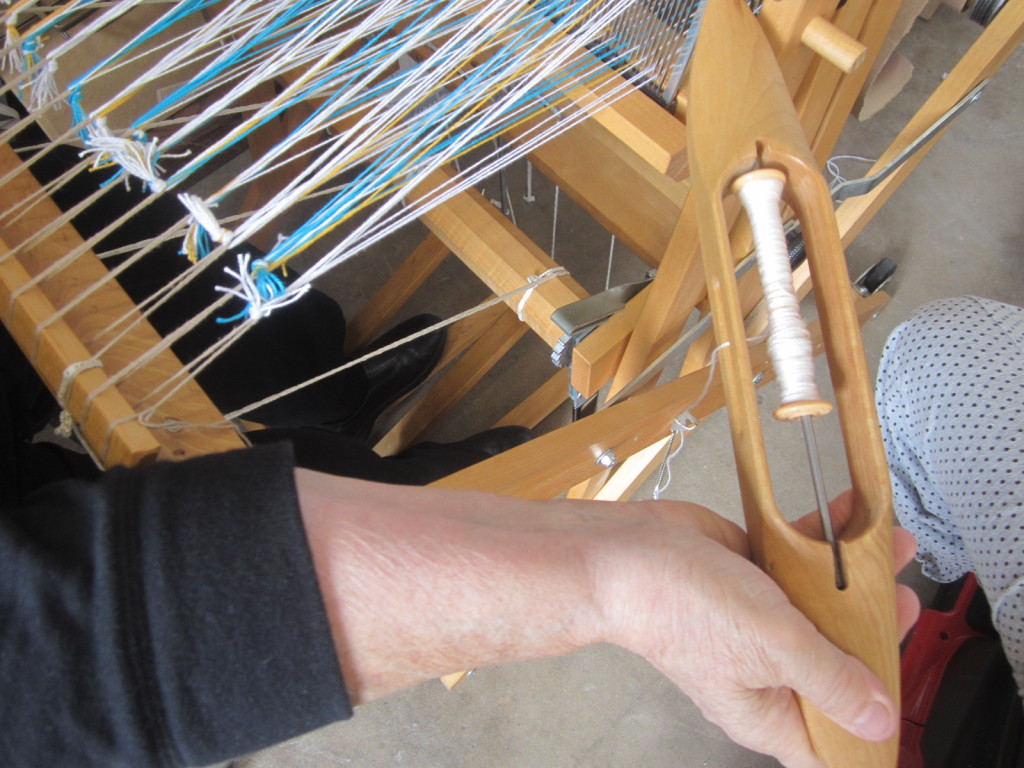
To throw a boat shuttle, you hold your hand like Marilyn’s in this photo. In other words, you throw the shuttle – you don’t pass it gently through. I find this challenging as sometimes it seems to get caught in the warp. I experimented with a few brands of boat shuttle in my class. My favorite brand was the Canadian-made Leclerc, which was more blocky. The Schacht boat shuttle was more pointy, and while it was lighter, it seemed to stab the warp more. A few times I picked up some warp threads by mistake and didn’t figure it out until a few throws later, and had to take my work out. Grrr….
Another type of shuttle we saw in our class was the stick shuttle. My class mate used this type because she was using a smaller table loom and she had a smaller piece of weaving. My teacher also uses stick shuttles when she is weaving with a “sticky” wool like mohair to keep the fibers behaving.
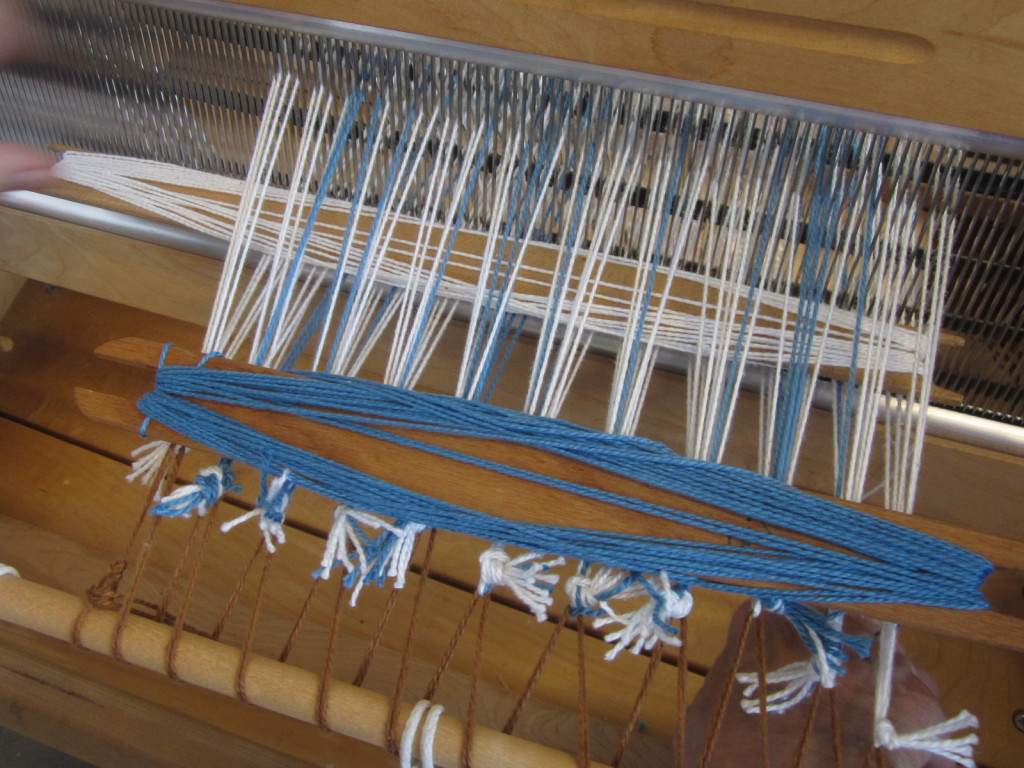
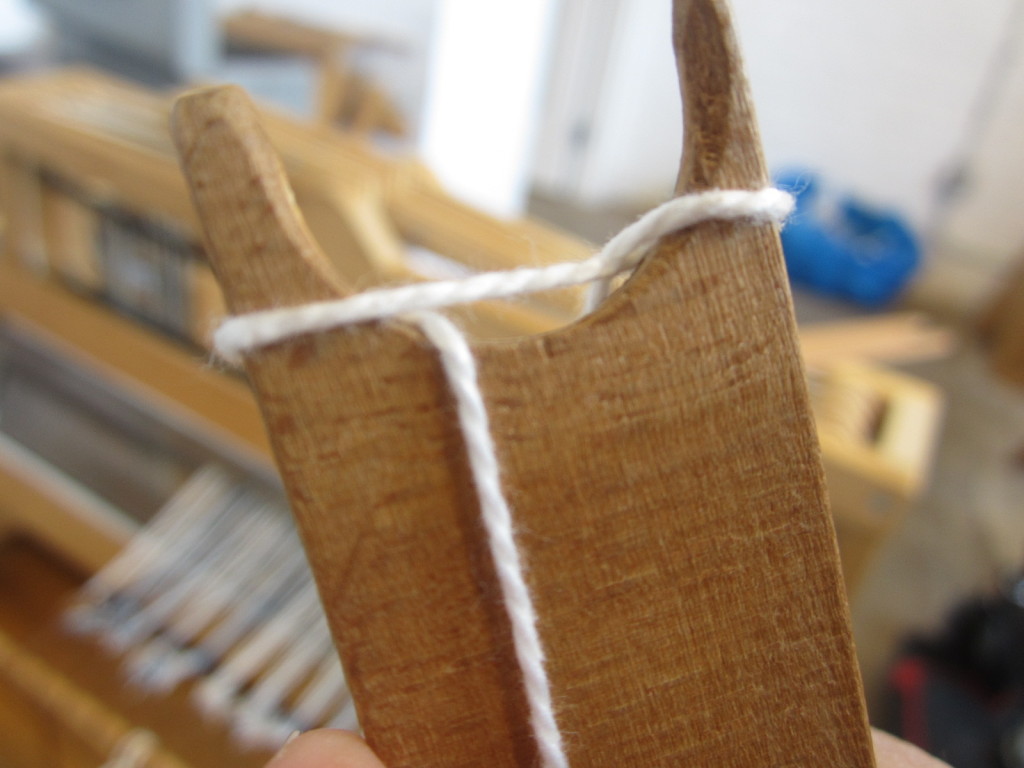
To wind the yarn on the stick shuttle, you anchor the yarn like this – not intuitive, eh?:
Other types of shuttles I have seen on the web were poke, rag and ski shuttles. We didn’t use those in our class, but I imagine they are good for weaving projects where you have a larger fiber or one that is not pre-wound on a cone.
Winding a Bobbin
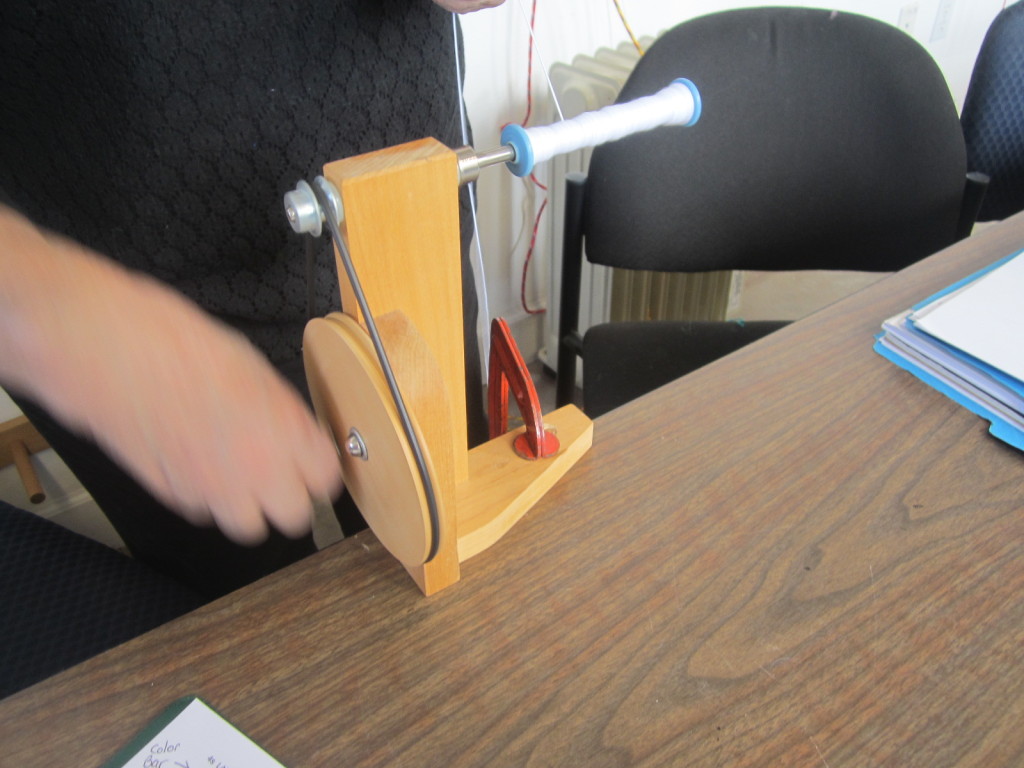
Since I was using a boat shuttle, I needed to wind my yarn on to a bobbin. I used a bobbin winder that I clamped to a table edge. First you wrap the end of the yarn around the bobbin like this:
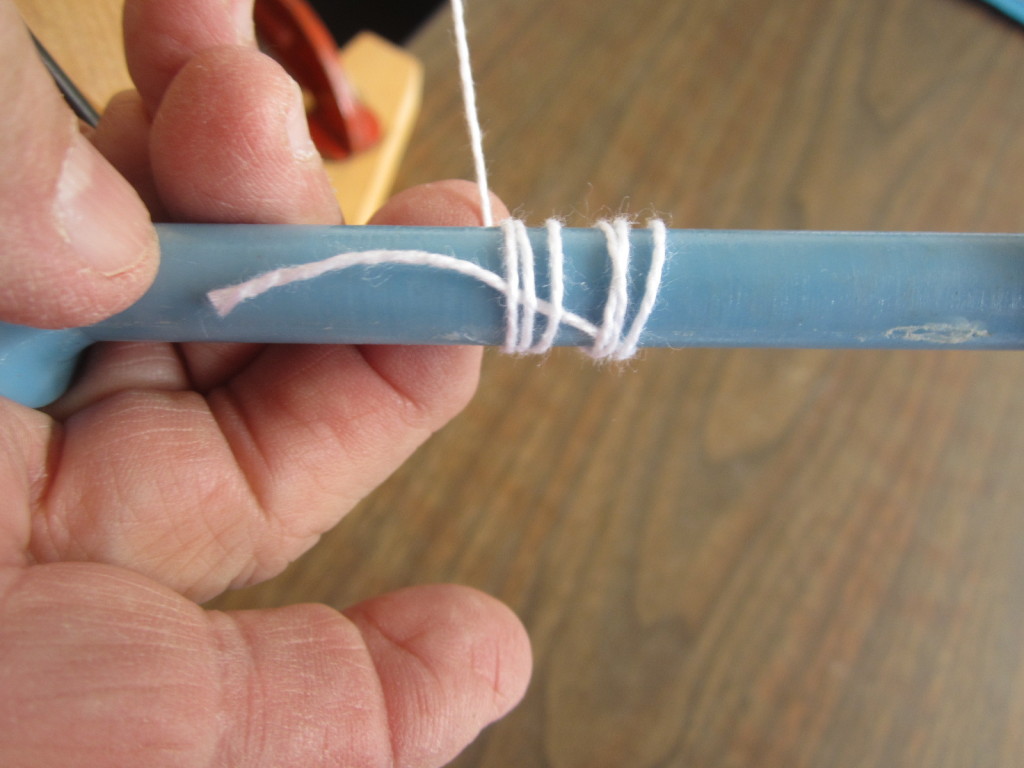
Then you stick the bobbin on the bobbin winder. You turn the crank with one hand and put the cone of yarn on the floor. You direct the yarn back and forth across the bobbin so you get even coverage. It can be fatter in the middle.
How To Get the Right Width of Weft
So now it is time to start throwing that shuttle! You don’t have to tie a knot with that first piece of yarn, you just leave a couple of inches hanging out, or you fold it back into the warp.
The key is to throw the shuttle so it leaves a nice diagonal of yarn inside the warp. I imagined this as a mountain I was building each time.
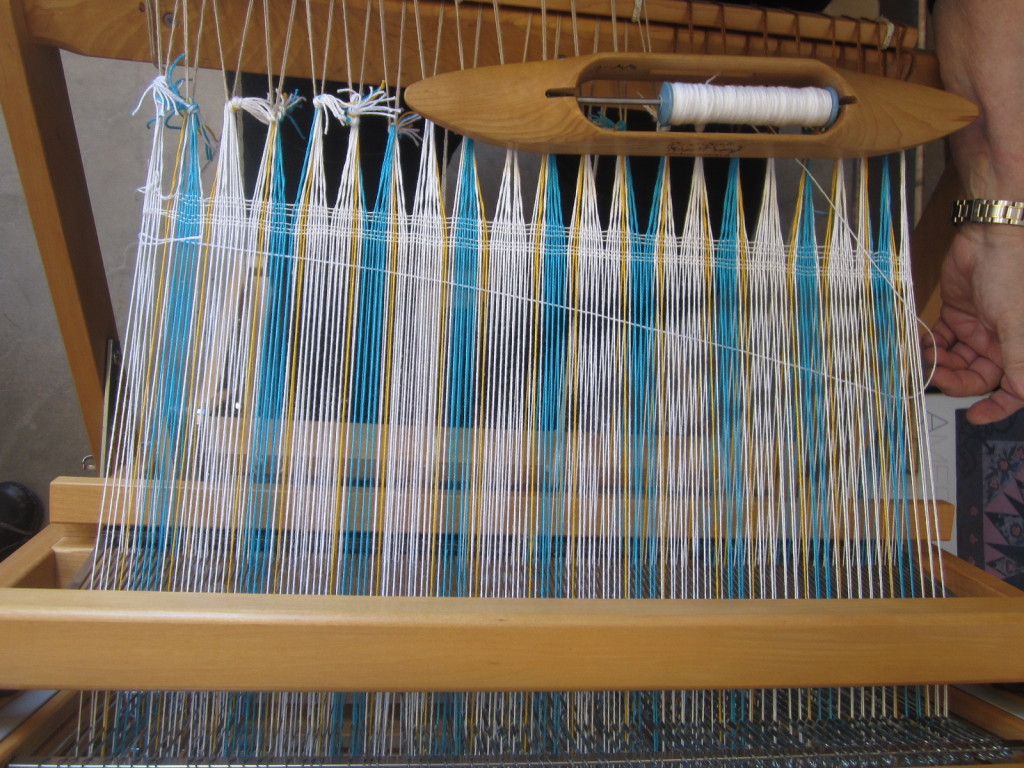
Making the mountain came quite naturally for me, but here’s the part that kept me struggling throughout. I wanted to yank on that thread to make a nice straight mountain, but it meant I started dragging the sides of the weaving in towards the center. My piece was supposed to be 18 inches wide, and almost from the beginning, it was 16 inches wide because I was pulling it too tight.
My teacher Marilyn said I needed to see at least a small loop hanging outside of the warp before I pulled down on the beater. Over time, you learn how big a loop to leave, given your personal tendencies and the yarn’s behavior. I was so bad at this – I would throw the shuttle and it would pull completely tight. I would then have to pull out a loop. I hope I learn how to throw the shuttle with the right force so the loop appears automatically – it would speed things up.
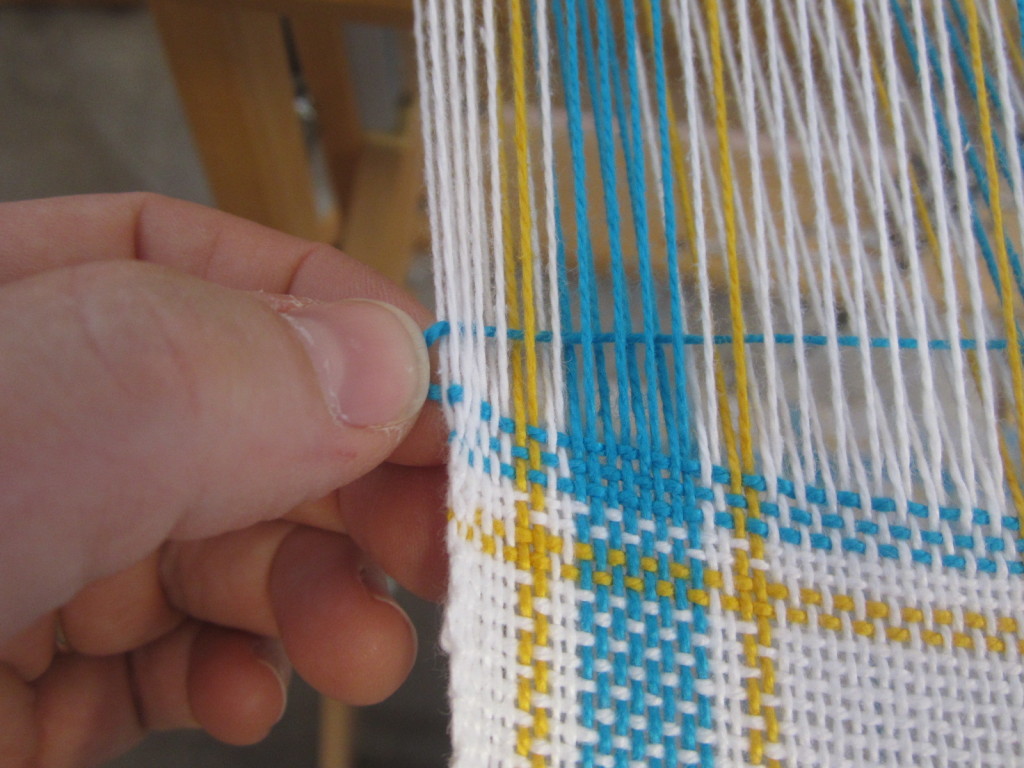
Anyone who knows me will not be surprised – once again, I need to learn how to relax! Loosen up! Let the weft have some loopiness at the ends!
You might say – a 16 inch wide towel is fine, no? And I would agree – except for one thing. When you are constantly weaving too tightly, it puts a lot of pressure on the outer warp threads, and after a while, they break. Yes BREAK! The first time it happened to me, I was weaving by myself in the fiber arts classroom, and I thought, wow. Can that really happen? Is my project ruined? Will I just keep weaving and not say anything? Who will notice that I’m now weaving with 287 threads instead of 288?
But I figured if I broke one thread, I would likely break another, so I better learn what caused the issue and how to bounce back.
How to Fix a Broken Warp Thread
Most of the time, I broke a warp thread right after I had cranked my weaving forward and I was re-tightening everything before throwing the shuttle again. I would look and *sproing* there would be a little wisp of a thread peeking out from my reed. Uh oh.
I would cut a new piece of yarn that was at least as long as my remaining project. I then put a long pin as close to the old warp thread as I could go. I would then thread my new thread through the heddle and reed and lay it down under the pin.
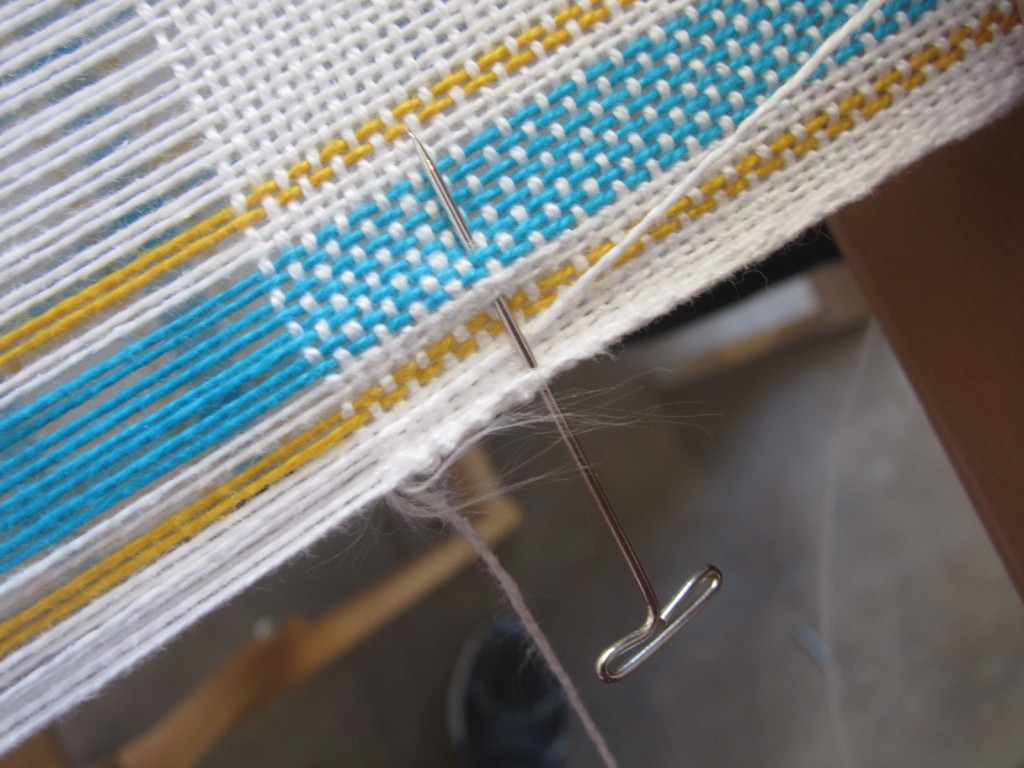
Then I would wrap the new warp thread around the pin in a figure 8 pattern.
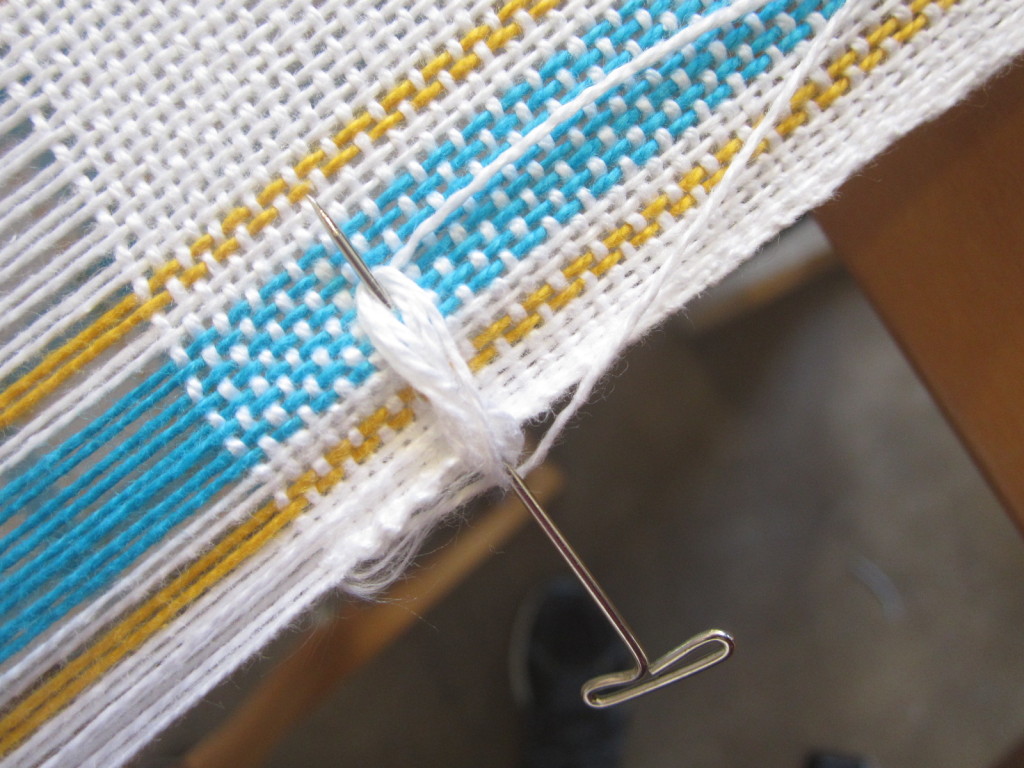
If there is a small piece of old warp thread, you can wrap it around as well, to keep it from getting tangled anywhere.
Then you push the pin back under the weaving so you don’t poke yourself.
To keep a good tension in your new warp yarn, you lay it over the back beam of the loom, and you weigh it down. We used old plastic film canisters filled with pennies because they are easy to move down the warp thread as you weave.
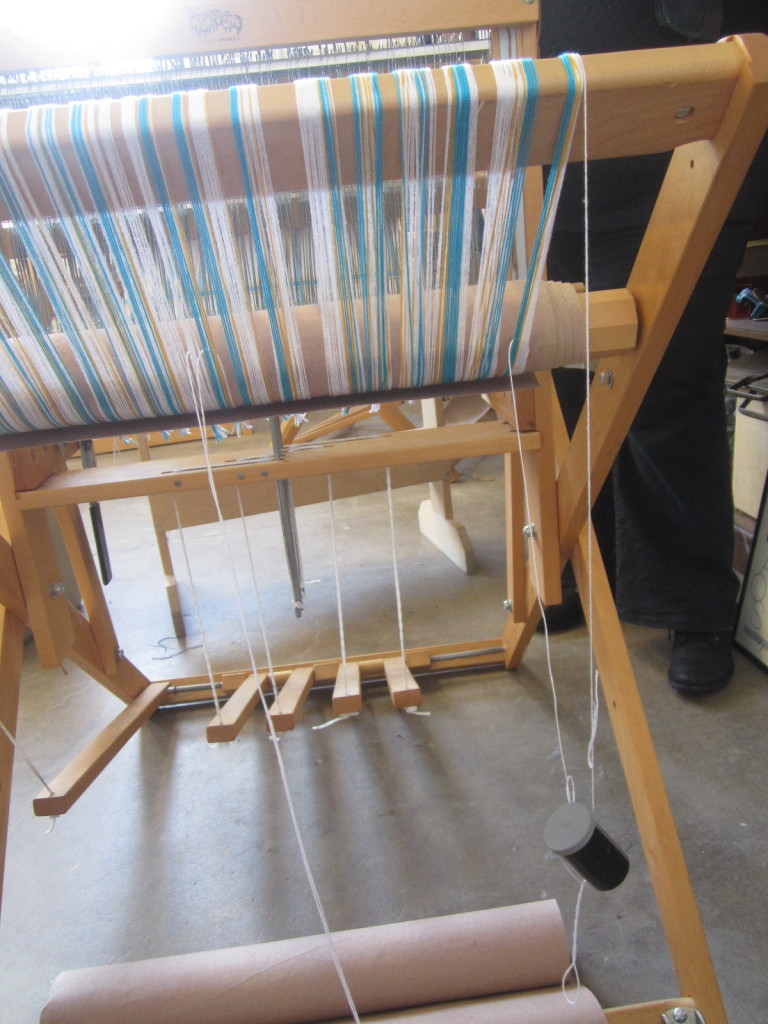
You can now just start weaving again. Later once you have woven at least a few inches beyond the broken warp thread, you can take out the pin and just snip all those yarns off.
Beating the Weft with the Right Intensity
Pulling back on the beater to push the weft thread into position is my absolute favorite moment in weaving. It makes the most satisfying sound. Marilyn noticed I was “double beating” my work, or bouncing the beater twice. That was fine to do, although unnecessary if you just learn the right pressure to put on the beater in the first pull. I think I just wanted to hear the sound twice as much.
You can check whether you are applying the right pressure on the beater by measuring how many threads you have to the inch. My yarn was supposed to be about 16 threads to the inch. When the piece is under tension on the loom, you will likely not have the full 16 threads – so it was okay to get 14 threads for example. You can see I was doing really well in my first inch:
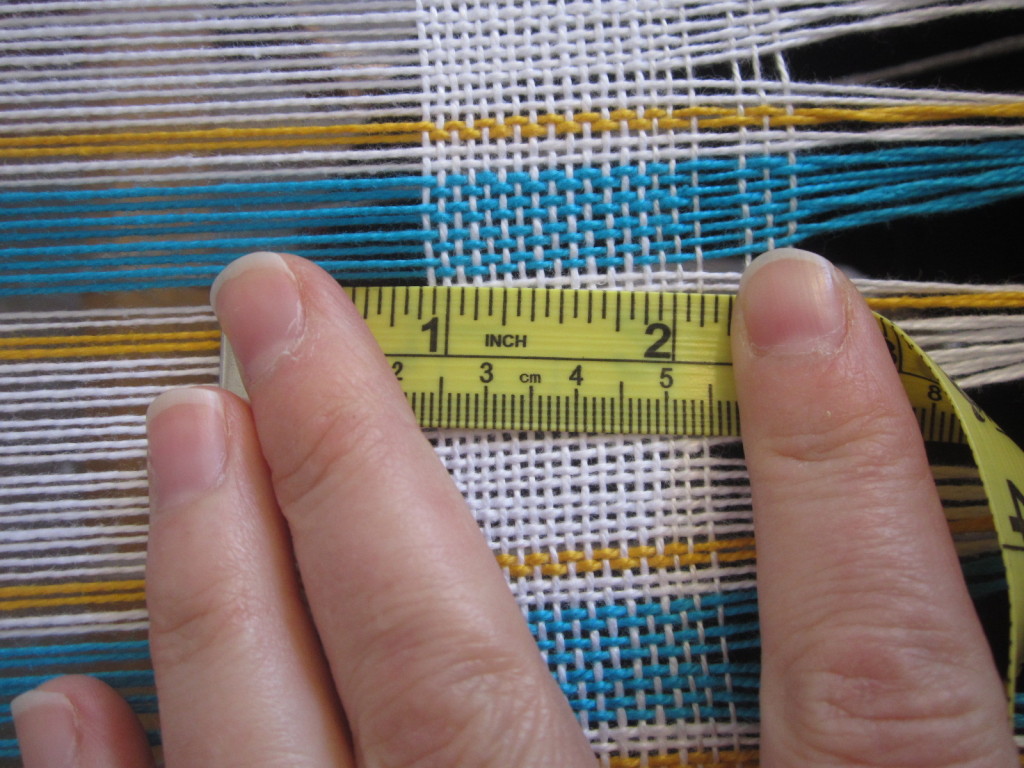
Ninety percent of the time, I was very even-handed with the beater. I was good at gauging my pressure visually and how it felt with my hand. At the start, I had a few times where it was tighter. I got a little excited. But on my second towel, every row was very even.
Changing Colors
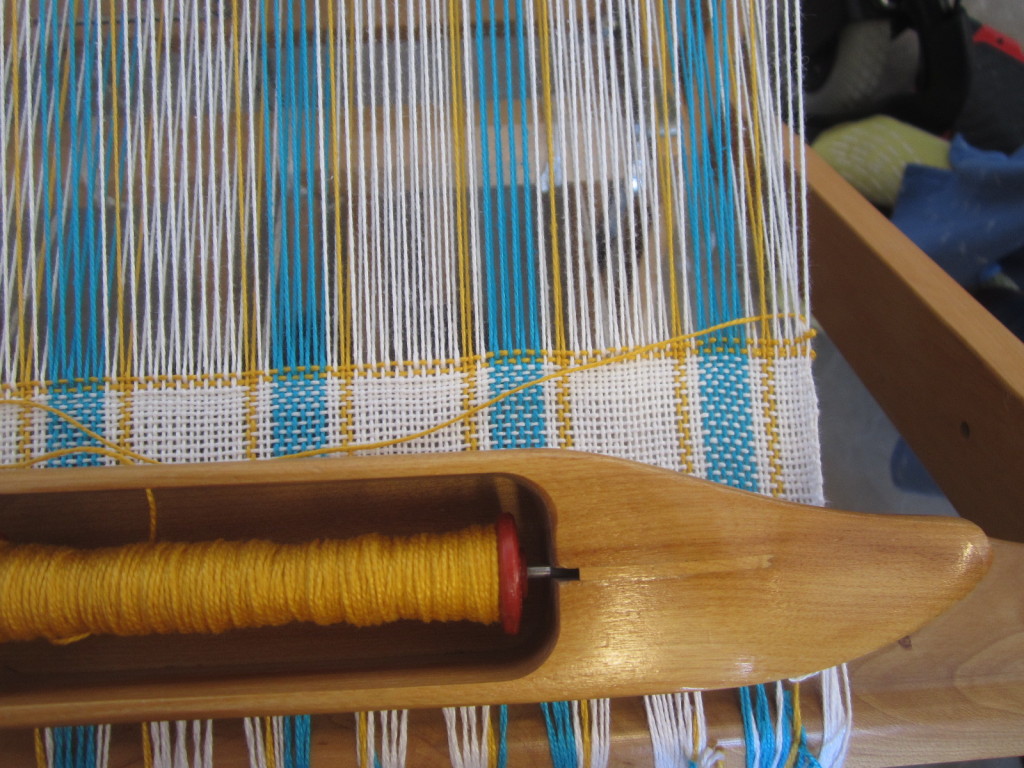
It’s quite easy to change from one color to another. When you are finished with a color, you just weave the shuttle back through the last 6-8 warp threads and cut it off with your scissors. To start the next color, you just let it hang out 1-2 inches. You can weave it back into the warp like this, but you don’t want to do it too much or one side gets fatter than the other.
This will leave some threads hanging. You just snip them off carefully once you have woven a few inches past them.
Evening Out the Tension of the Warp
At times, one section of the warp would just start loosening up. For me, it was usually near the edges. Marilyn said she keeps a number of small rounded dowels available for this issue. Some are thinner, some fatter. You round the edges to ensure they don’t cut into your finished work.
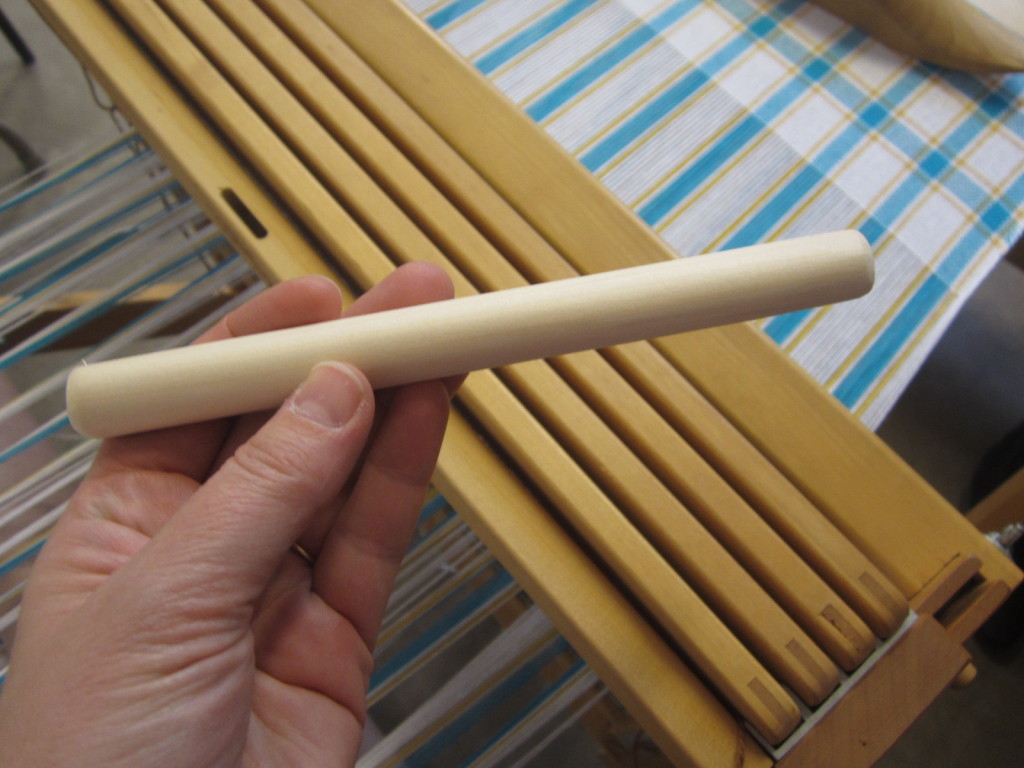
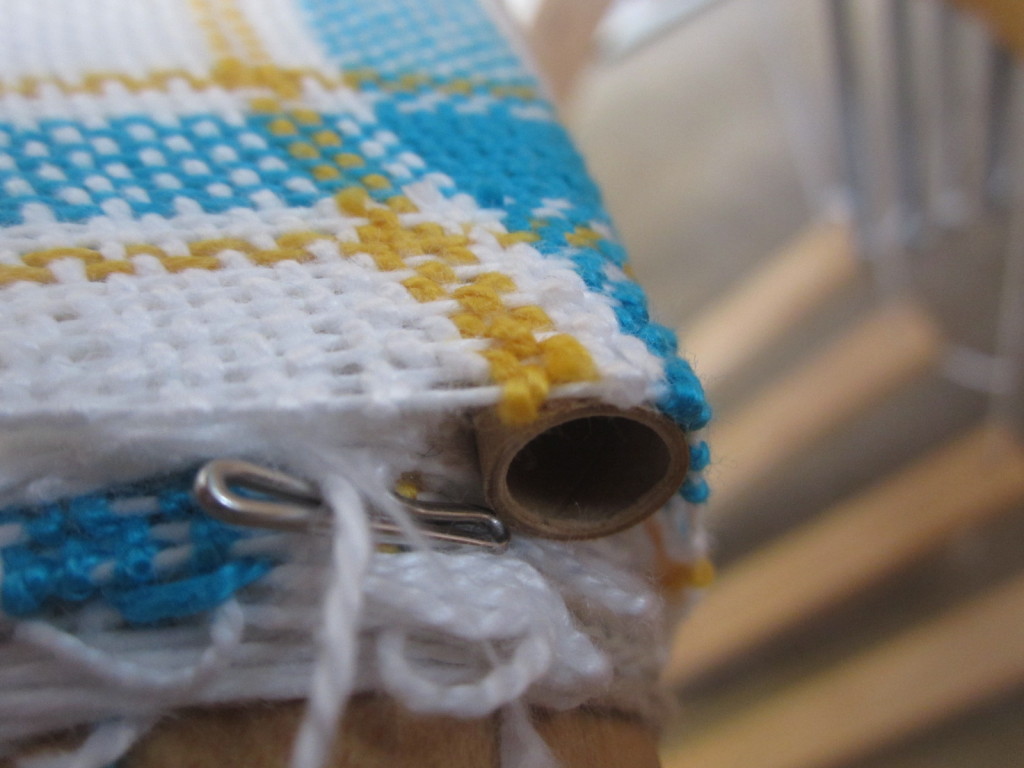
You shove the sticks down where the finished cloth is rolling on to the cloth roller. You have to shove it in there so it doesn’t fall out during the movement of weaving. After you remove the finished weaving, these tubes fall out and there can be a lump in the work where they were sitting. Marilyn assures me that lump comes out when you wash the piece.
Leaving a Space Between Projects
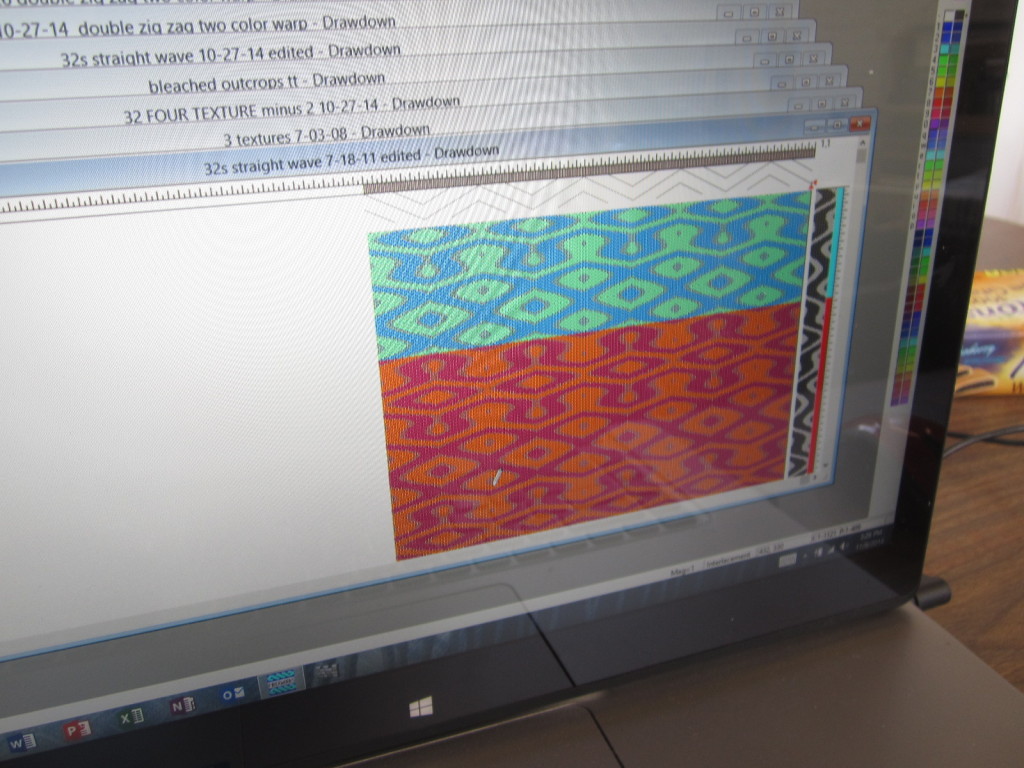
Since it is so much work to plan and thread a warp, it makes sense to do more than one project on a warp. Weavers often put super long warps on their looms so they can weave and weave and weave for a long time. They use software to decided the weft so that a single warp may give them many different results. For example, here is a project that Marilyn is planning on her computer. It uses the same warp but different wefts and patterns, so the projects do not get boring for her.
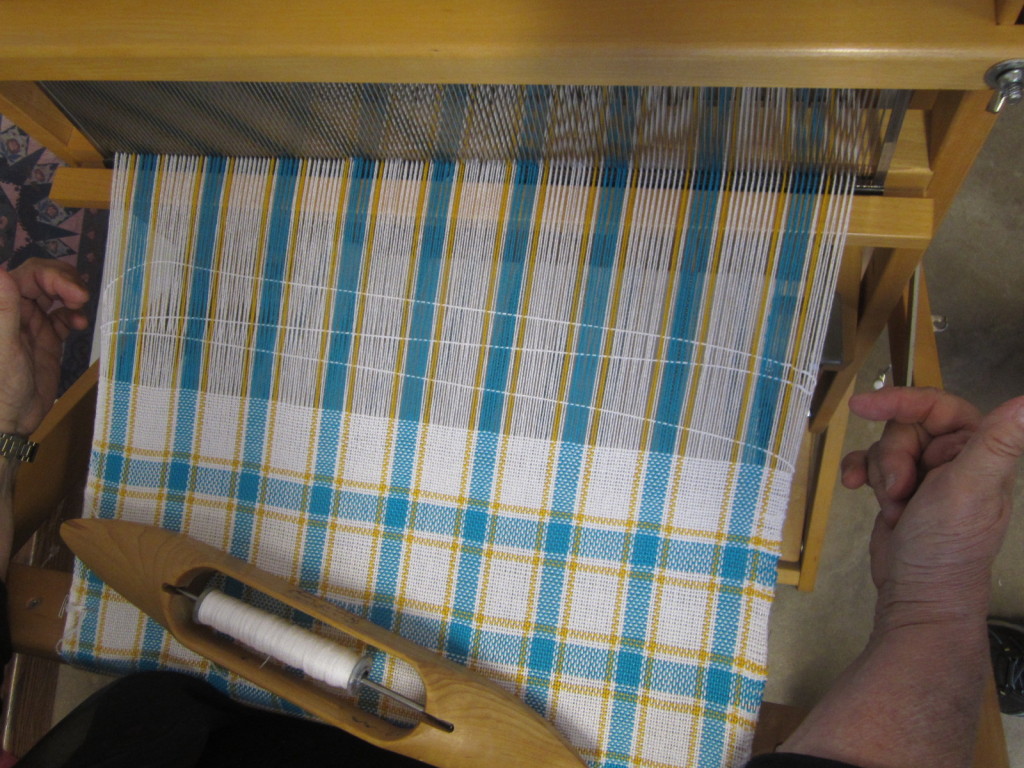
I had planned to make two towels, not realizing that would be a LOT of work, and I had to come in to the fiber arts classroom at least five extra days to finish the job! But it was worth it because I improved from the first towel. I also learned how to leave a space between projects. You loosely weave a few threads like this, allowing your warp to come out to its full width again (in my case, adding two inches back!) Later, when the projects are done and I have zig zagged the edges, I will cut with my scissors here to separate the two projects.
Admiring Your Work As You Go
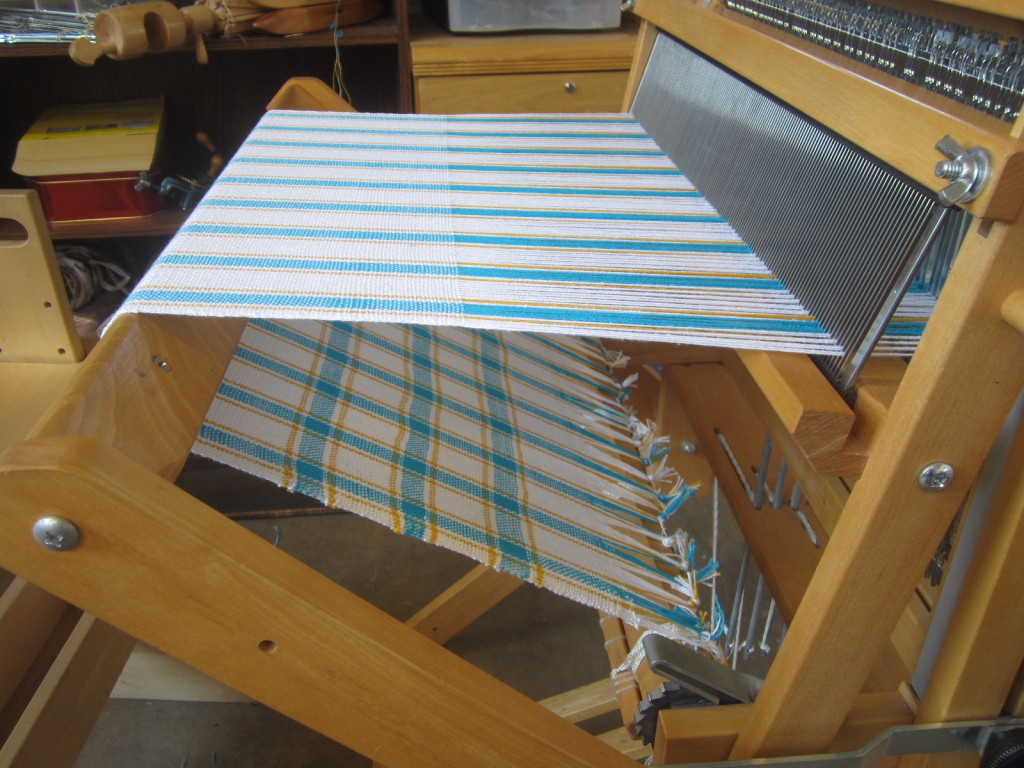
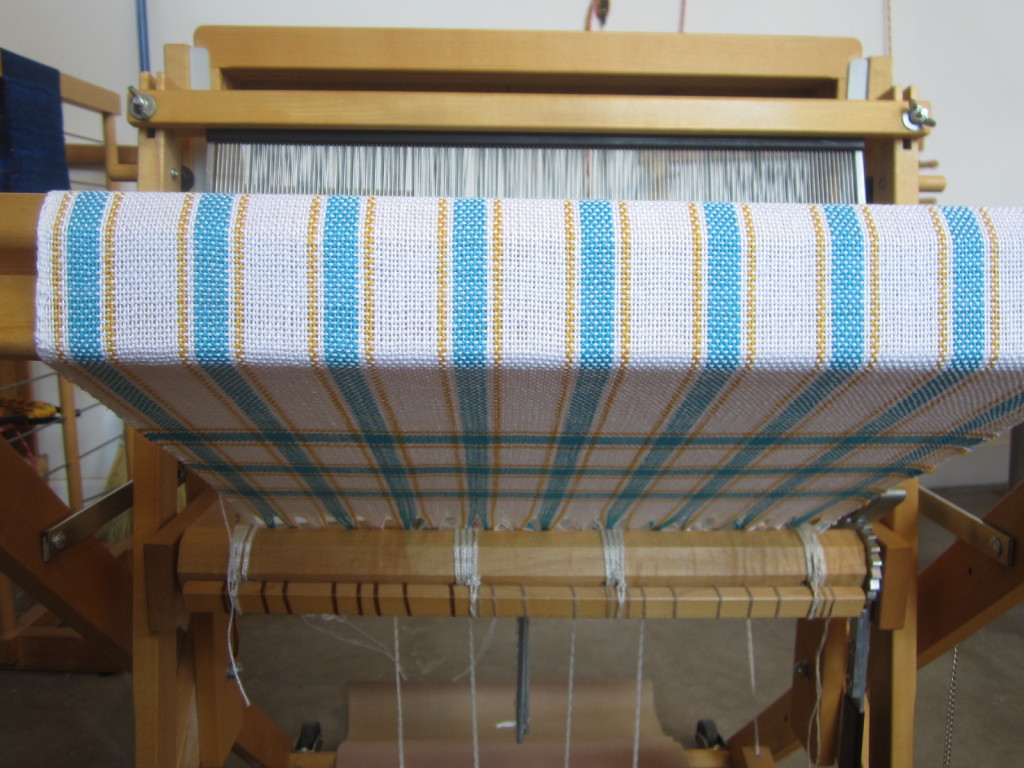
I’m going to write one more blog about how to finish your project, including removing it from the loom, finishing the edges and fixing mistakes. But let’s finish this blog with some photos I took along the way, when I would just sit and stare at what I had woven already, feeling like the luckiest person ever.


I agree. Admiring your finished weaving is the best part. Great project!