This is a variation on paper dolls. My daughter and I started making these a few years ago and she makes a few more every so often.
Here’s the process:
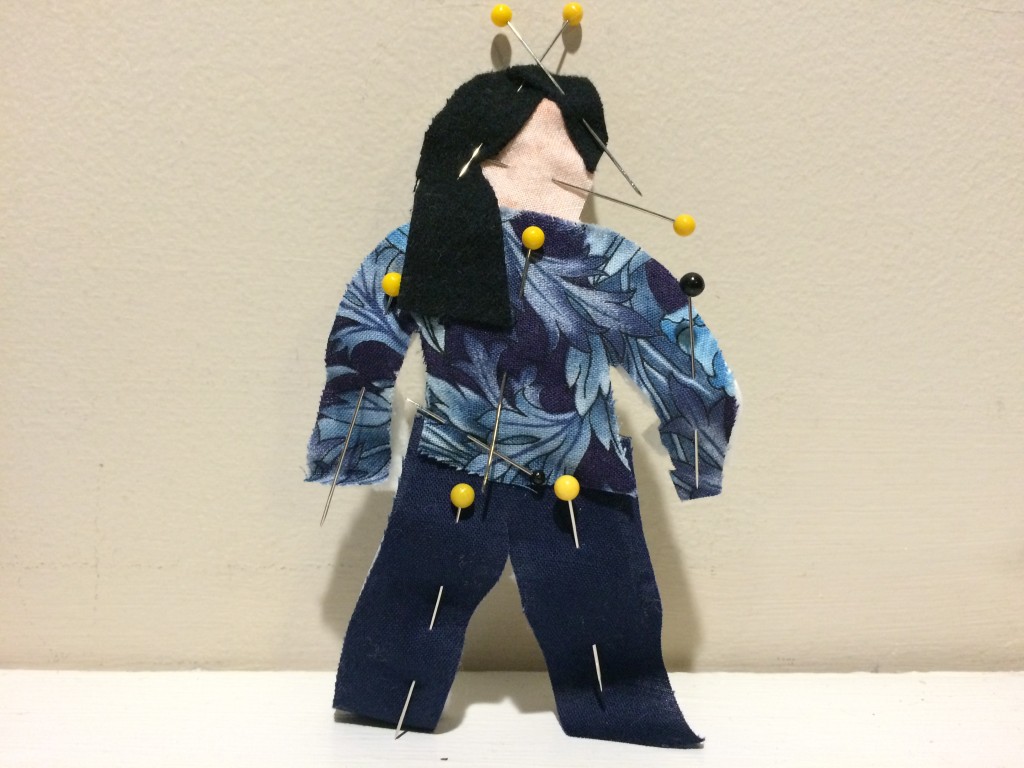
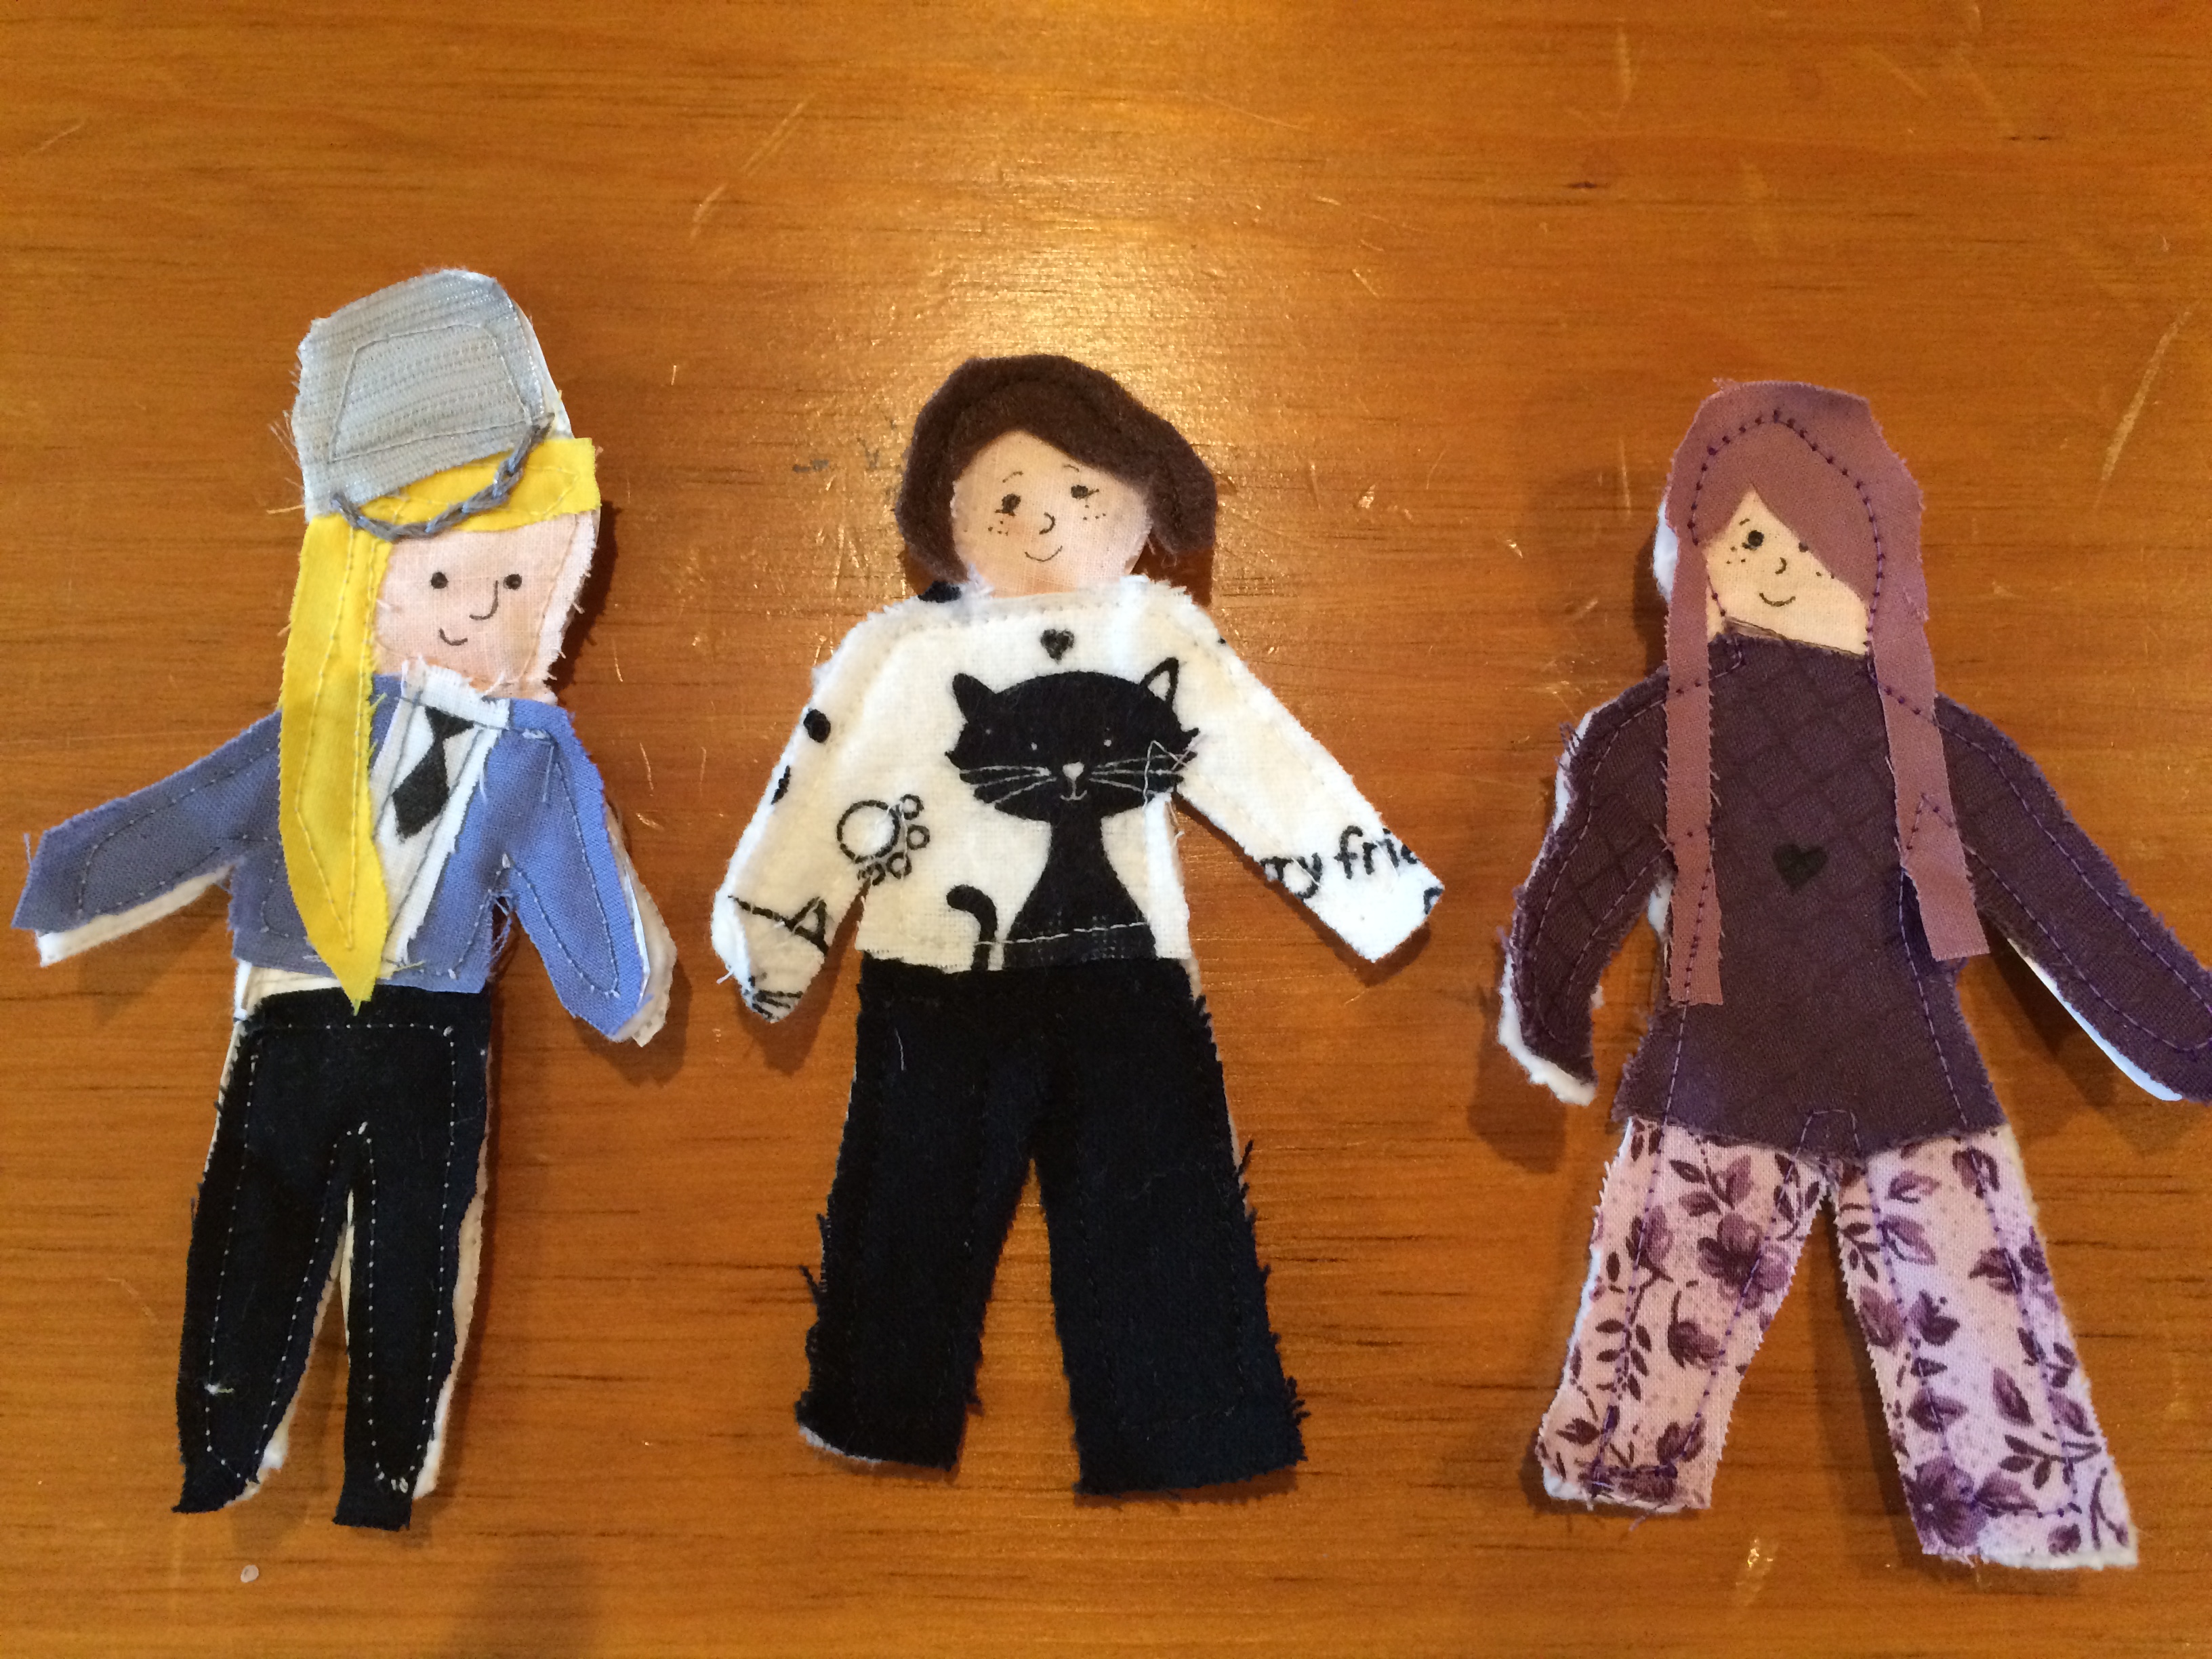
- Cut out a paper shape of a flat person. We recommend making the head extra large because the hair often goes beyond a head size that matches the body, and you need something to provide a backing for the hair.
- Cut out the same shape on a scrap of quilt batting or thick backing fabric.
- Dig through fabric scraps to design the people.
- Cuts out the shapes and pin them to the flat person shape. The layers are backing, then paper, then colorful fabrics.
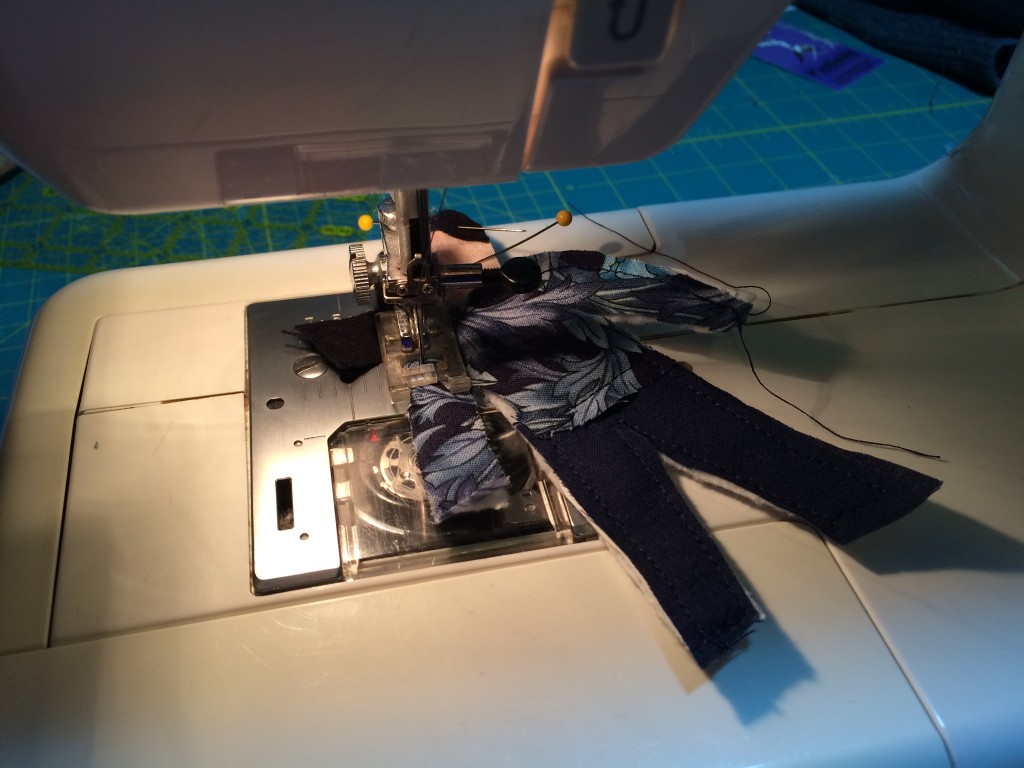
- Sew through all the layers – mostly an outline but ensuring all the small pieces like hair are securely attached. We usually change thread color to match the fabrics, so it can involve a lot of threading your sewing machine time.
- Draw on a face with a fabric marker.
We learned the hard way that some fabrics just don’t work on such a small piece – particularly stretchy fabrics. The needle just wants to chew them up since there is not enough fabric to keep it stretched taut.
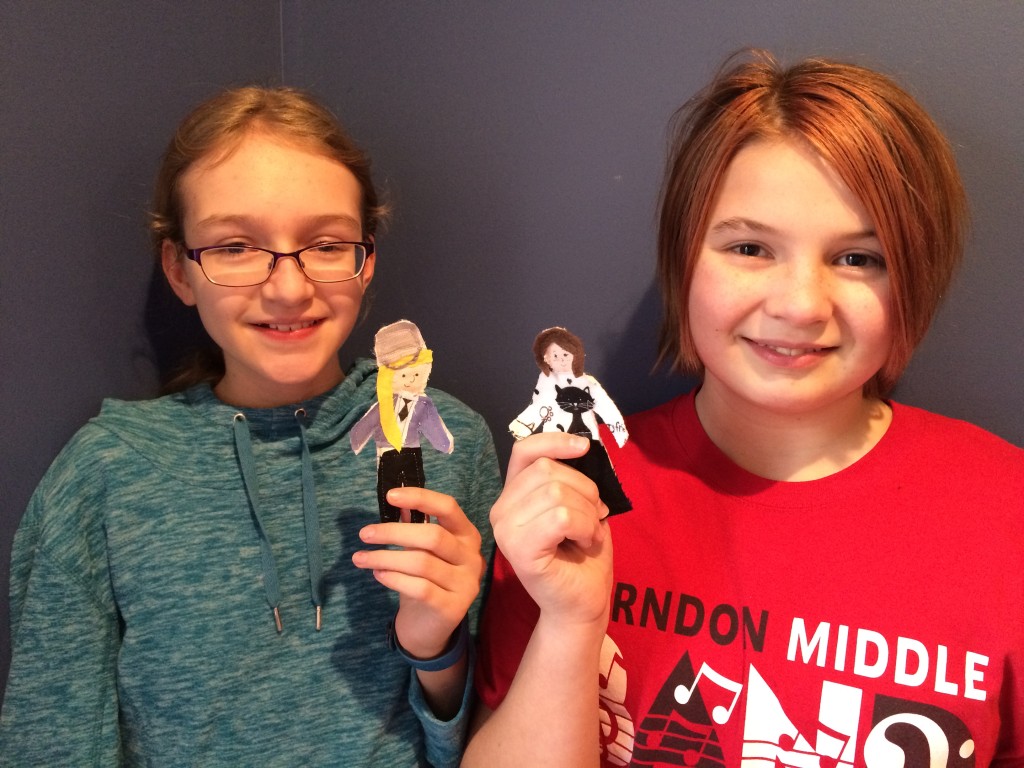
Nora is really great at drawing the faces – that’s her #1 job other than design because she gives them so much character. She has done the sewing machine parts too, but it’s finicky and she gets frustrated threading the machine so often. Usually she does design and then I quickly sew them up for her.