This shows step-by-step how to make people from plastic caps, just like the hockey player craft that we did for Nora’s birthday party last year.
It takes 18 plastic caps to make a person, plus three pipe cleaners.
Transcript of the Video
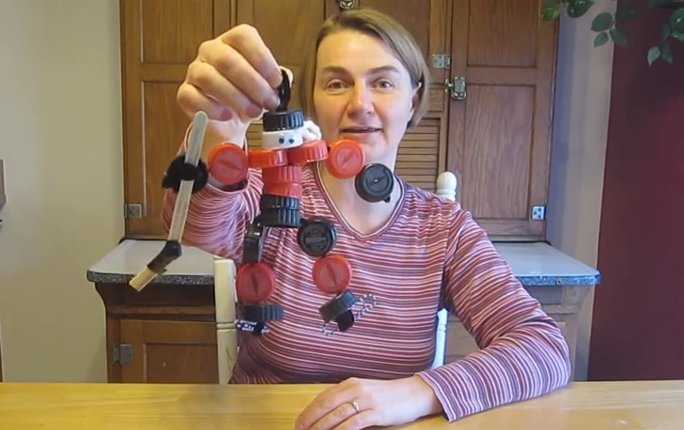
I’m Carla Brown from Trashmagination, and today we’re going to do a project of making a plastic cap athlete. This is a hockey player, but you can make them for any sport your family’s excited about like basketball, soccer, football.
So this card shows how this project is made out of 18 plastic caps. Each of the plastic caps has been drilled in a specific way so that the athlete hangs together. For example, this is the helmet piece, and it has a single dot in the center of the helmet piece. You can see right here, it has one hole right in the top.
You put all the caps on the card, and then you don’t have to be searching around to find the pieces as you need it. So for example, there’s the helmet piece. This is a fun piece – this is the head piece. It has googly eyes glued on the side.
So if you want to make an athlete where the hair shows, like this one, then you need to make a little tuft of hair out of yarn. This is how the hair looks before it’s in the athlete. All we did, we took some yarn, looped it back and forth, and then put a little tape in the middle so it’s like a figure eight.
The other materials you need are two extra large paper clips and three pipe cleaners.
Making the Feet and Legs
If you are making a hockey player, I’m going to show you how you start to put the skate on. You take your large paper clip, like this, and you just wrap the pipe cleaner around it a few times so it’s nice and tight.
If you are making an athlete that is not a hockey player, like a soccer player or basketball player, then you just take the foot piece, and you put the pipe cleaner down in through the top, and you kind of make a knot by bunching it up a little bit.
So going back to our hockey player athlete, now what you do is you put the foot on, like that, and now you have your skate. So you can see here, we have got two pieces that are labelled calf. You just go in through one side and out through the other. Next I need to put the thigh of it, so in this case, I decided to make the hockey player have black hockey pants on. So look for the piece that’s labelled hips. You just go into the hips from the side and back out the other side. So now you have a hockey player’s hips. And you have to get your other thigh, and put the other calf on now.
The nice thing about using pipe cleaners is that then they are kind of pose-able. So we are going to put his shoe on, or her shoe on. And the only thing that’s left now is to put the other skate blade. Now we have a lot of extra pipe cleaner. We can always trim that off afterwards, but for now we’ll just wrap it around. Try to wrap it kind of tightly so that the blade is close to the shoe.
Making the Head and Body
So now we have the legs of the athlete with the two feet. Now it’s time to make the body of the athlete. We’re going to start with the helmet, we’ll start at the top. So there’s our helmet. And we’ll get a new pipe cleaner. I’m just going to move the legs here. Come in through the top there.
If you were going to give the athlete hair, this is the moment to do that. So just put the hair on through the pipe cleaner, and then grab the head piece. So grab the shoulder and again, come in through the top. So the body, come down through the center. Another body piece – and one more – this is labelled “stomach” on the card. So we’ve got the head and the body.
Now we are going to attach the body to the legs. There are two holes here in the hip. We’ll come down through one hole, bend the loop back, and come back up through the other hole. And you start pulling it through. Now you are going to go back up through the hole that you came in, so it’s a little tight but pipe cleaners can do it. And again back up through the body – same body hole – pull it down. Back up through the same body hole and now you are going to do something slightly different when you get to the shoulder. So three caps you go through the same hole. Now you are going to add the other shoulder. So here’s the other shoulder, you come up through the bottom. Don’t go back in through the other shoulder – just push that out of the way. Come back up through the head and the hair.
So once you have pulled the pipe cleaner nice and tight all the way through, and the shoulders should be side-by-side at this point, the body all in a line like this, you can twist this tight so it doesn’t come undone.
Adding the Arms
Pretty good – all that is left is the arms. For that, we’re going to grab the last pipe cleaner but the arms are pretty easy. You just, again, take this and sort of tuck it down inside so it doesn’t come off. So there’s one hand. Then you get the arm. I tried to match it to the same color as the team jersey, so it looks like the rest of their arm. Now you are going to come in through one side of the shoulder – in and all the way through to put the arm on. So you just line up the holes. It actually lines up pretty well if you have got the body nice and tight. Okay we have our arm there – one arm. We are ready to put the other one on. Again, you grab the upper arm color, and the other hand or glove. And to finish it up, just tuck it back underneath to keep it attached.
So now you have your athlete. You can sort of twist the caps around so that the tops show, like that.
Adding Sporting Equipment
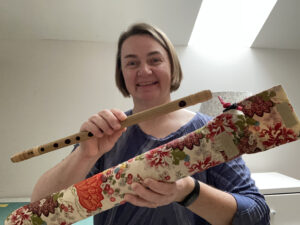
In this case for the hockey player, we took two Popsicle sticks. One we left whole, the other we cut in half, and we taped it together. You could make a basketball with a large Gatorade, for example, orange cap. The way you then attach the accessory – with the hockey, we just tucked the hockey stick underneath the arm piece that was inside the cap. If you were going to do a basketball or something like that, you could put that on first before you put the glove on so that the accessory is attached.
Thanks for watching this Trashmagination video! To see more videos, Like Trashmagination on Facebook and get updates.
(There are a few rough edits in this video because our old computer is struggling to keep up, but we have decided to go ahead with what we have – we have spent enough time!)